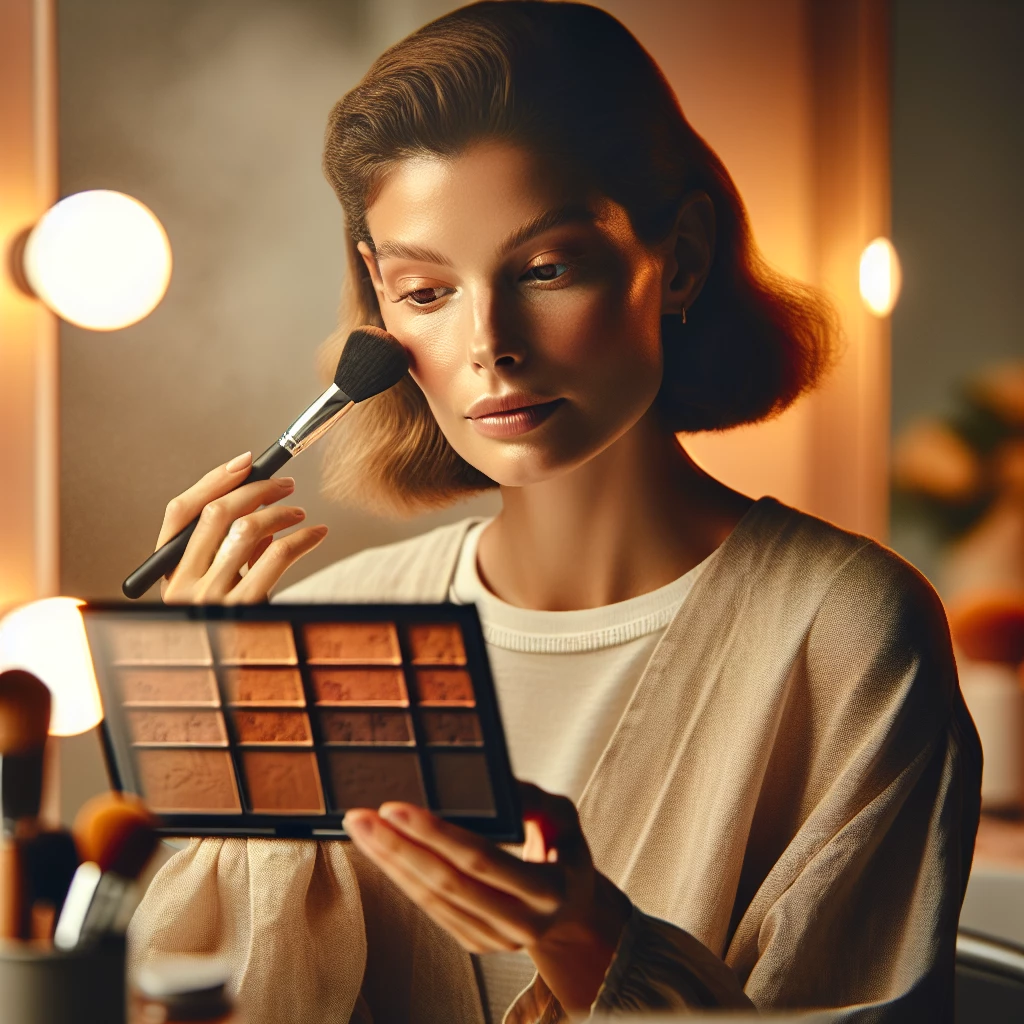
Welcome to the world of beauty and glamour! Today's topic from our 'Makeup for Occasions' category is Bronzer Basics: A User's Guide. Bronzer can be a game-changer for your makeup routine, giving you that sun-kissed glow we all aim for. However, application is key with this powerful cosmetic - when done right, it's flawless. Over the course of this guide, we'll explore techniques that will help you master the bronzer game, making sure you never have a 'too much' moment.
Understanding the basics
Before we delve into the finer details of bronzer application, it's important to understand the very basics of this cosmetic tool. Bronzer is a warm-toned makeup product that you can use to mimic a sun-kissed glow on your skin. It can add depth and dimension to your face, enhancing your natural facial structure.
Bronzers come in a variety of formulas - from powdery compacts to creamy liquids. Depending on your skin type and makeup preference, you can choose the bronzer that satisfies your individual needs.
Remember, the purpose of bronzer is to create a natural and healthy glow, so it's best to stick with shades that are no more than two shades darker than your skin tone. Overdoing this step could result in an artificial, 'orange' look.
Choosing the right tools
To achieve a seamless bronzer application, using the right tools is key. A big, fluffy brush is usually a safe bet. Kabuki brushes or any big brush with a lot of bristles can ensure an even application. They can easily blend the product into your skin, providing a smooth finish.
Liquid or cream-based bronzers, on the other hand, might require a beauty blender or a makeup sponge for application. These tools should be used damp to avoid product absorption and help achieve a more natural, blended look.
Remember, the tool you choose can significantly impact the end result. Therefore, investing in high-quality brushes and sponges can be worthwhile in the long run.
Application Techniques
Now that we’ve clarified what bronzer is and the tools necessary for application, let’s move onto application techniques. Start by dusting a small amount of product onto your brush or sponge. Tap off the excess before applying it onto your skin.
The key spots to apply bronzer are the areas where the sun would naturally hit— the tops of your forehead, cheekbones, and your jawline. This is often referred to as the “3” technique. Remember, the aim is to subtly deepen your complexion and enhance your facial structure.
Blend, blend, blend! This is the key to natural looking makeup. Bronzer should be fused seamlessly into your skin, with no harsh lines or obvious patches.
Common Mistakes and How to Avoid Them
Using bronzer can be a bit tricky, and it’s common to make a few mistakes while mastering the technique. One of the most common errors is using too much product. Less is definitely more when it comes to bronzer. You can always add more if necessary.
Another common mistake is using the wrong shade. As previously noted, your bronzer should be no more than two shades darker than your skin tone. Anything darker can give your skin an unnatural, muddy appearance.
Over-application and disregarding your natural face structure can also lead to an unnatural look. Always remember the '3' rule— focus on your forehead, cheekbones, jawline, and always blend well!
That wraps up our user's guide to bronzer basics. Remember, the key to successful application lies in your tools, technique, and the shade you choose. By avoiding common mistakes and following these guidelines, you can achieve a natural and sun-kissed glow. Now go out and rule the world with your flawless bronzer game!
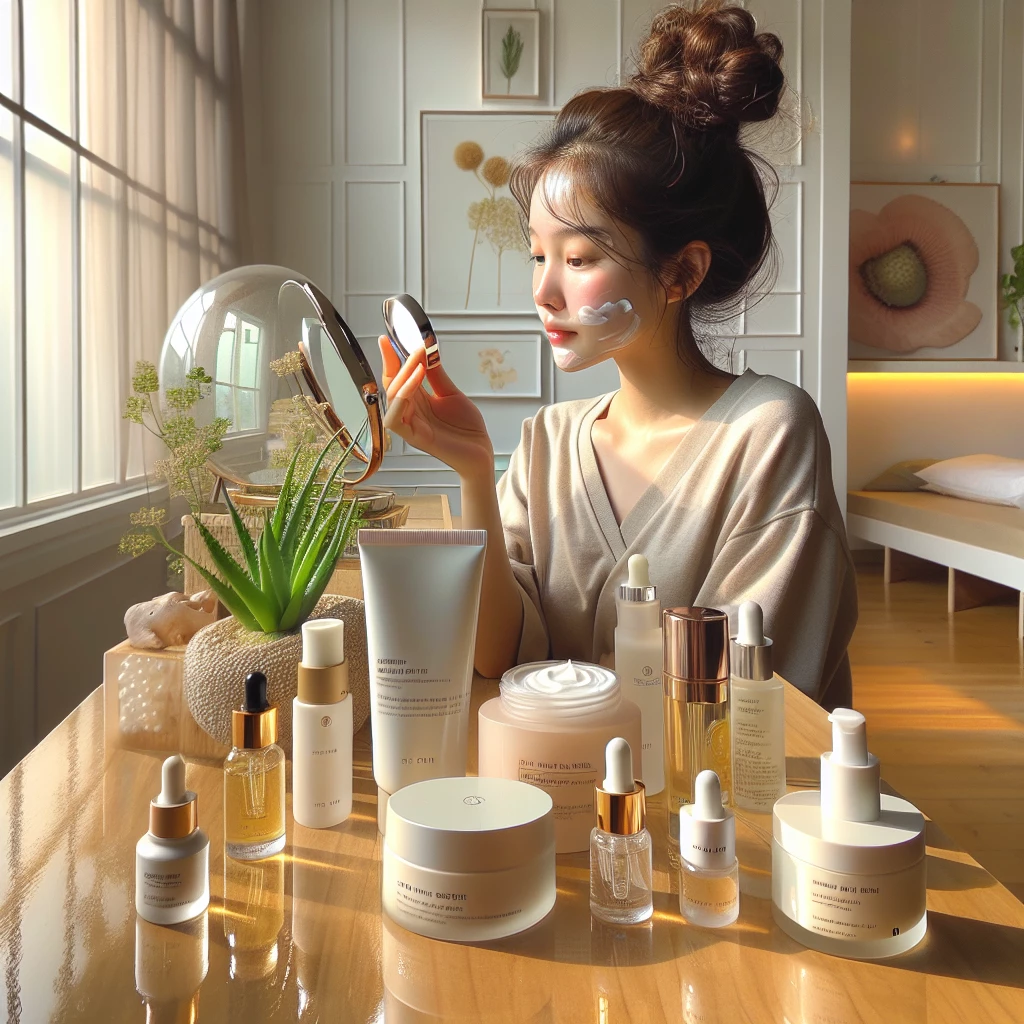
The Magic of K-Beauty
Explore the trend of Korean beauty and what makes it a global phenomenon.
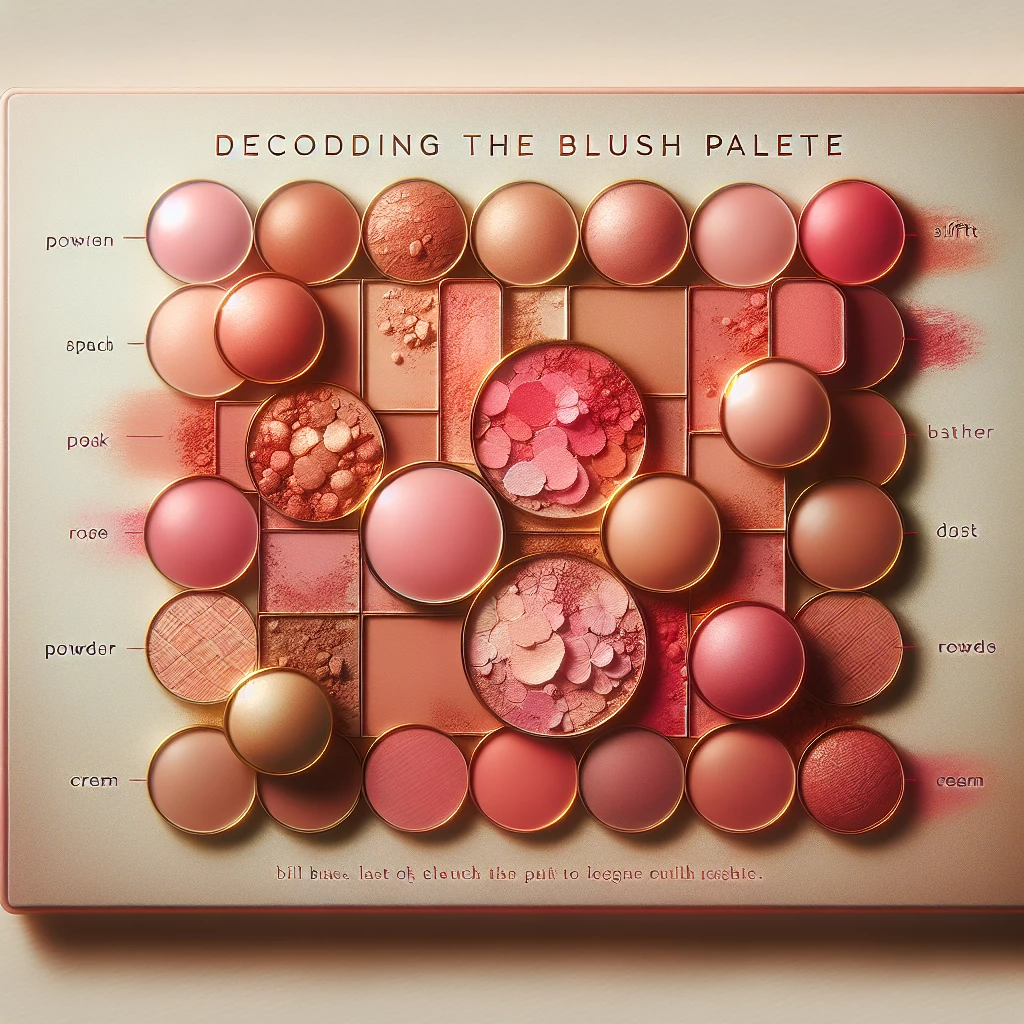
Decoding the Blush Palette
A comprehensive guide to using different shades of blush for various skin tones.
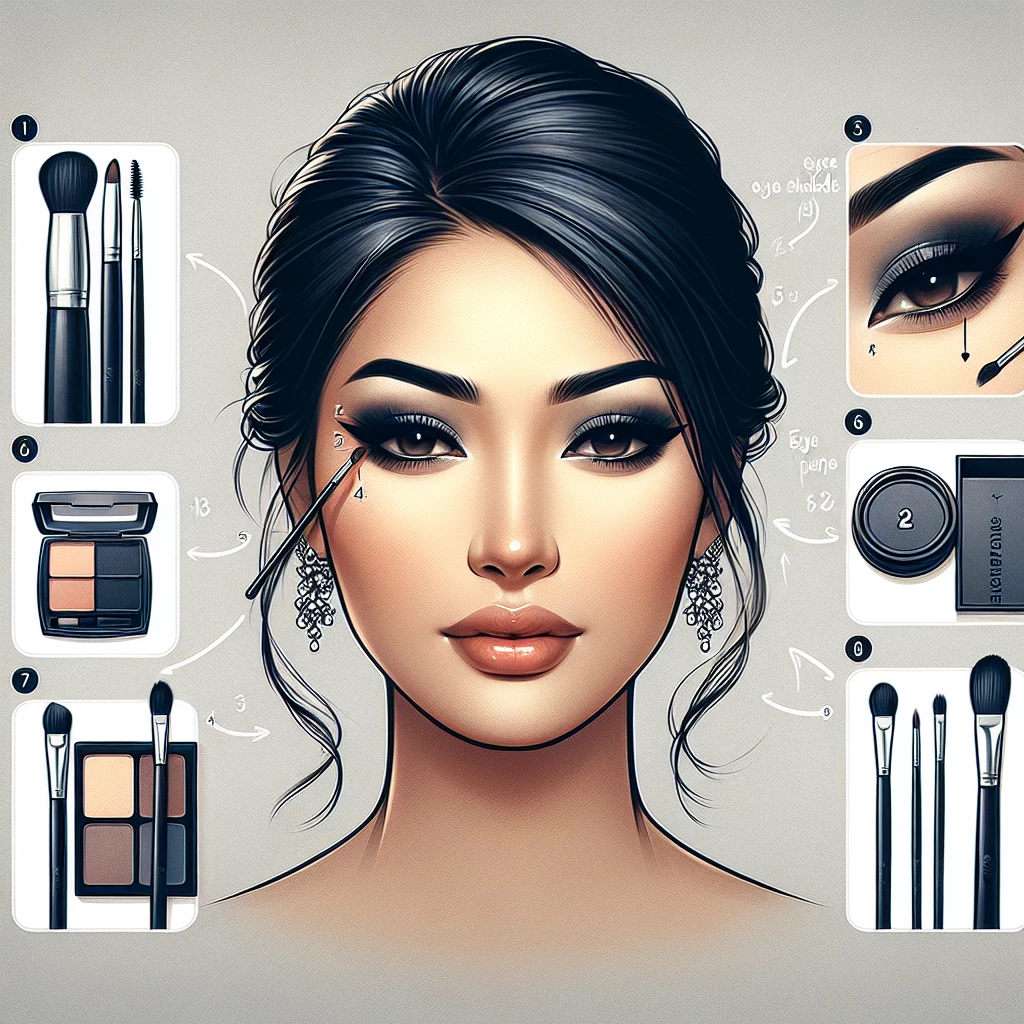
Creating Smokey Eyes: A Guide
Understand the art of achieving the perfect smokey eye look for any occasion.
Unmasking Lip Gloss Trends
Dive into the world of lip gloss, tracking its evolution and the latest trends.
