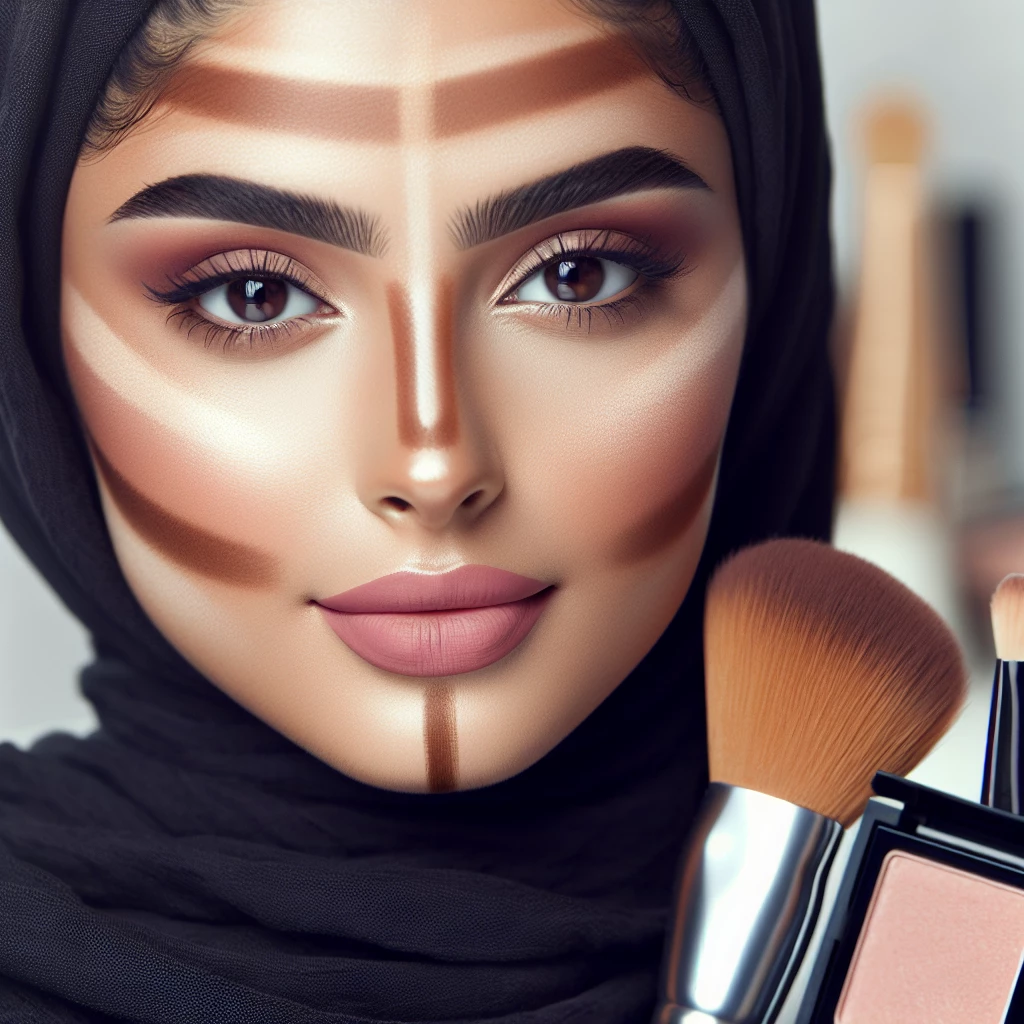
Welcome back to Makeup Queens! Today, we'll be digging into the transformative world of contouring under our 'Makeup for Occasions' category. Makeup has long been used to accentuate and play up our best features, and contouring takes this to the next level. By understanding shadow and light, contouring allows us to sculpt and shape our faces for a more defined and polished look. Regardless of your face shape, this in-depth guide will provide you with the tips you need to contour like a pro!
Understanding Your Face Shape
The first step to effective contouring is understanding your unique face shape. Examining your hairline, cheekbones, and jawline can give clues as to what face shape you have. From simply oval, heart, and round to more complex shapes like diamond, square or rectangle, everyone's face falls under these categories.
Knowing your face shape not only guides you as to where to place the contour and highlight but also helps you learn which area can make the biggest impact for you. For example, round faces might need a little more definition on the sides to create an impression of length, while those with square faces may want to soften their strong jawline.
Remember that everyone's face is unique and don't be discouraged if it doesn't fit perfectly into these categories. Embrace your distinct face shape and learn to work with it. Makeup is about enhancing your natural beauty, after all.
The Art of Shadow and Light
Contouring is essentially all about playing with shadow and light. The areas you apply contour to should be those that you want to recede or appear smaller, creating an illusion of shadow. Usually, these areas are the hollows of your cheeks, the sides and tip of your nose, and the perimeters of your forehead and jawline.
On the other hand, highlighting brings areas forward, making them appear larger. The tops of your cheekbones, the bridge of your nose, the center of your forehead, and your chin are key areas to highlight.
The perfect contouring is often a matter of balance between these two techniques. Too much shadow could leave you looking muddy and unflattering, while too much highlight could make you seem overly shiny or greasy. Striking the right balance will give you the best results.
Choosing the Right Tools and Products
Another crucial aspect of contouring is having the right tools and products. For contouring, you'll need a makeup contour kit that matches your skin tone. These kits often come with a variety of shades to choose from, so you can find something that will suit your complexion.
The tools you use can also significantly affect the end result. Brushes with dense, angled bristles are excellent for contouring, as they allow for precise application. A makeup sponge is also essential for blending out the contour to achieve a flawless, natural look.
Remember that it's always better to start with a light hand and build up the color gradually. It's much easier to add more product if necessary than to remove excess.
Contouring Techniques for Different Occasions
Contouring can be adapted to fit any occasion. For a natural, everyday look, opt for a light contour that simply defines your face shape without transforming it entirely. Your goal here should be to subtly enhance your natural features.
For more formal events or nights out, you may prefer a heavier contour. Here, you can get more experimental with shadow and light, and really sculpt your features to achieve a striking, dramatic look.
Remember, makeup is personal. What works for others may not work for you. Practice and explore different techniques to find what makes you feel the most confident and beautiful!
Contouring, much like any other makeup skill, requires practice and understanding. It's all about knowing your unique face shape, mastering the art of shadow and light, choosing the right tools and products, and adapting your contouring techniques for different occasions. With these tips, you're now well on your way to achieving a perfectly sculpted face. So go ahead, grab your makeup brush and start contouring like a pro!
The Magic of K-Beauty
Explore the trend of Korean beauty and what makes it a global phenomenon.
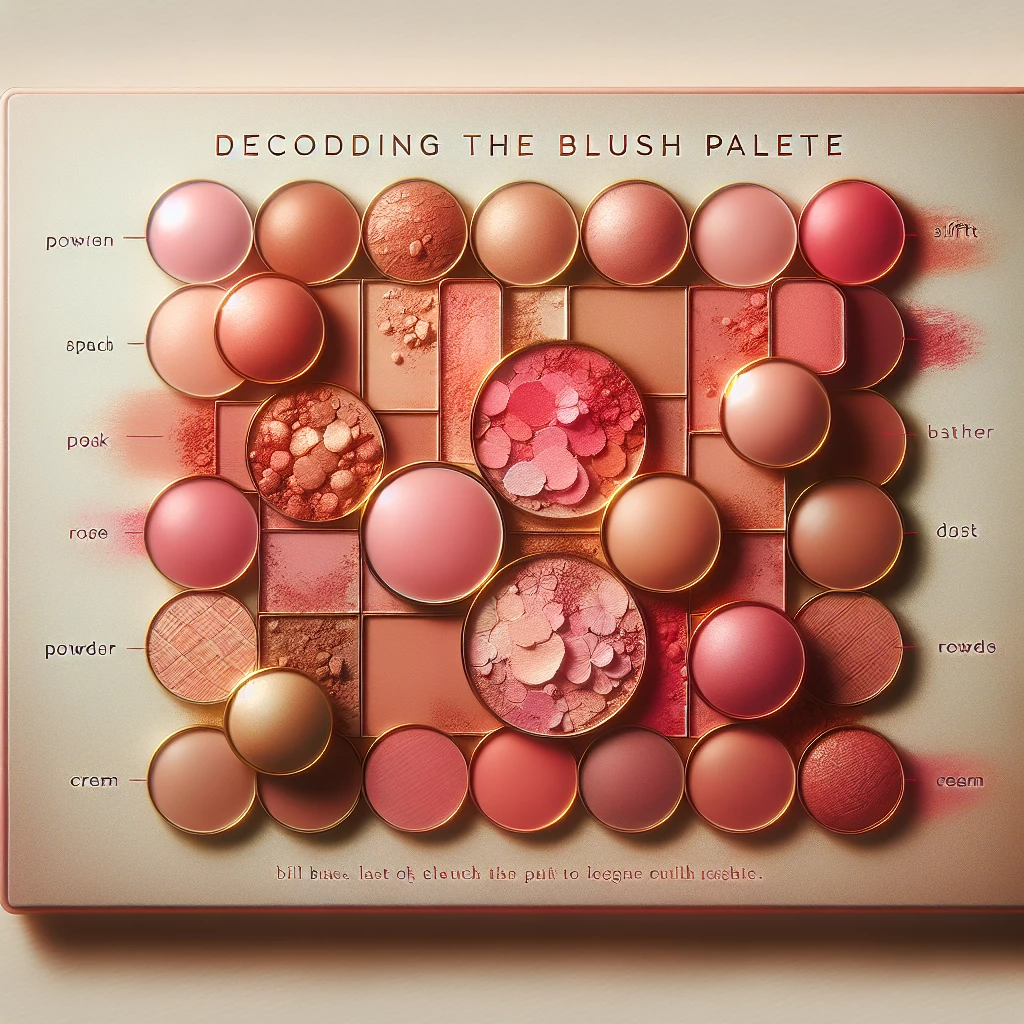
Decoding the Blush Palette
A comprehensive guide to using different shades of blush for various skin tones.
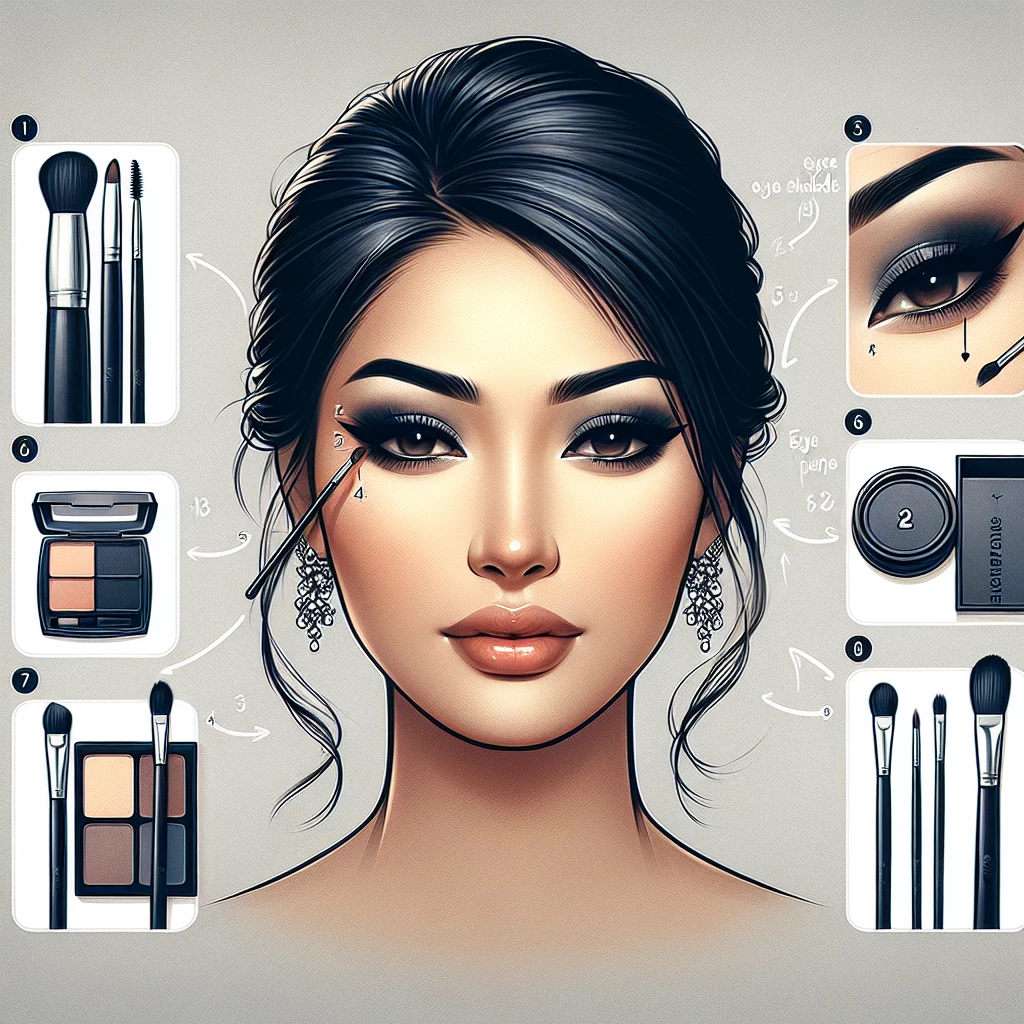
Creating Smokey Eyes: A Guide
Understand the art of achieving the perfect smokey eye look for any occasion.
Unmasking Lip Gloss Trends
Dive into the world of lip gloss, tracking its evolution and the latest trends.
