Welcome to another edition of Makeup Queens, where we decode the hottest makeup techniques and bring it all to your screens. In today's blog, we are revealing the art of contouring - an essential trick to enhance your features, shape your face and reveal a true makeup queen in you. From deciphering the basics to exploring advanced techniques and a step-by-step makeup tutorial, we have it all covered. Remember, makeup isn't about hiding, it's about highlighting your innate beauty. So, grab your brushes, your contour palette, and let's start our journey to master the gorgeous technique of contouring.
The Basics of Contouring
Contouring is a make-up technique that makeup artists and celebrities extensively use to define and enhance their facial features. It involves using a pigment that's darker than your skin tone to create optical illusions, smoothing out the shape of your face, define your nose, cheekbones, jawline and even lift your eyes.
The key is to blend, blend, and blend. Harsh lines are a contouring nightmare. You aim to achieve a natural shadow, not visible lines. Your contour should not be noticeable to an untrained eye. It's about subtly enhancing your existing features.
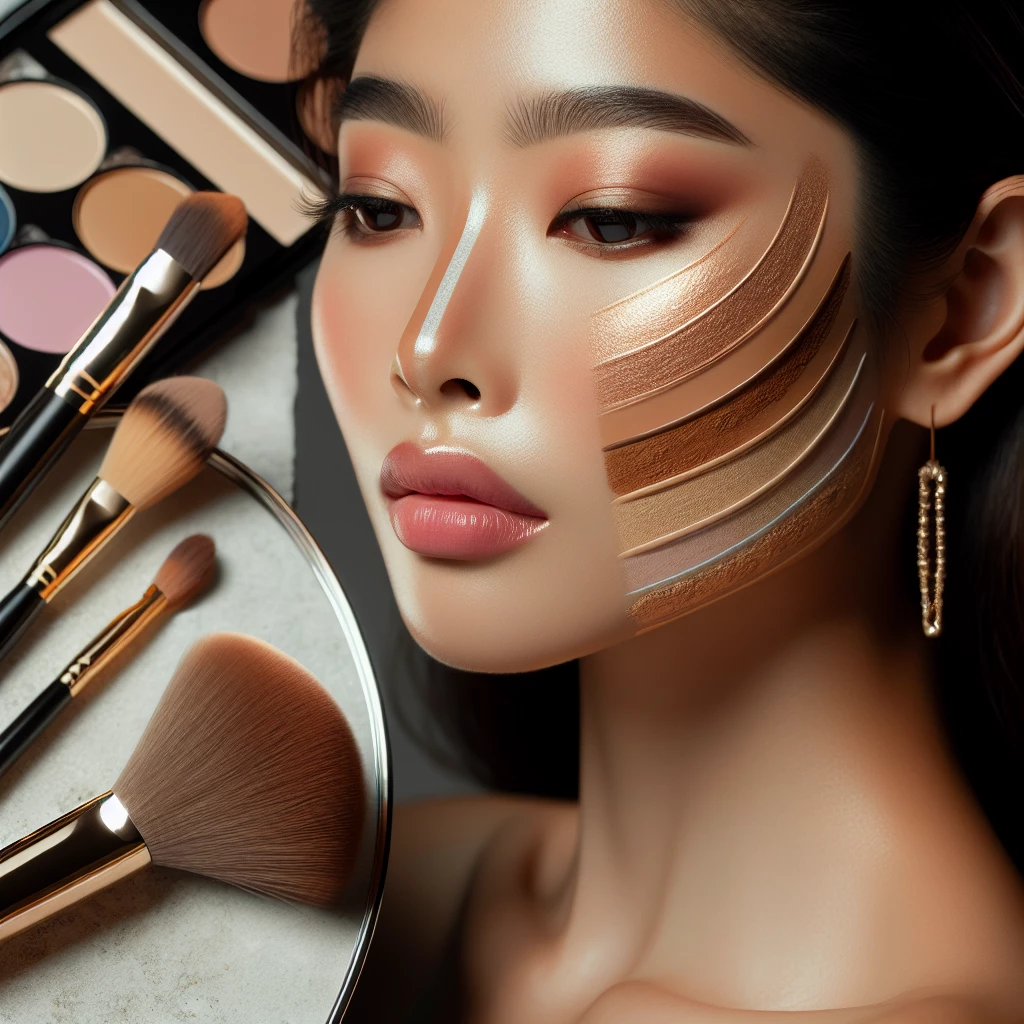
What do you need for contouring? A contour palette, good brushes, and a clear mirror. Contour palettes come in several options from powder-based to cream ones. Your choice depends on your skin type and the finish you prefer. As for brushes, opt for angled ones to help you create precise lines.
Steps for Perfect Contouring
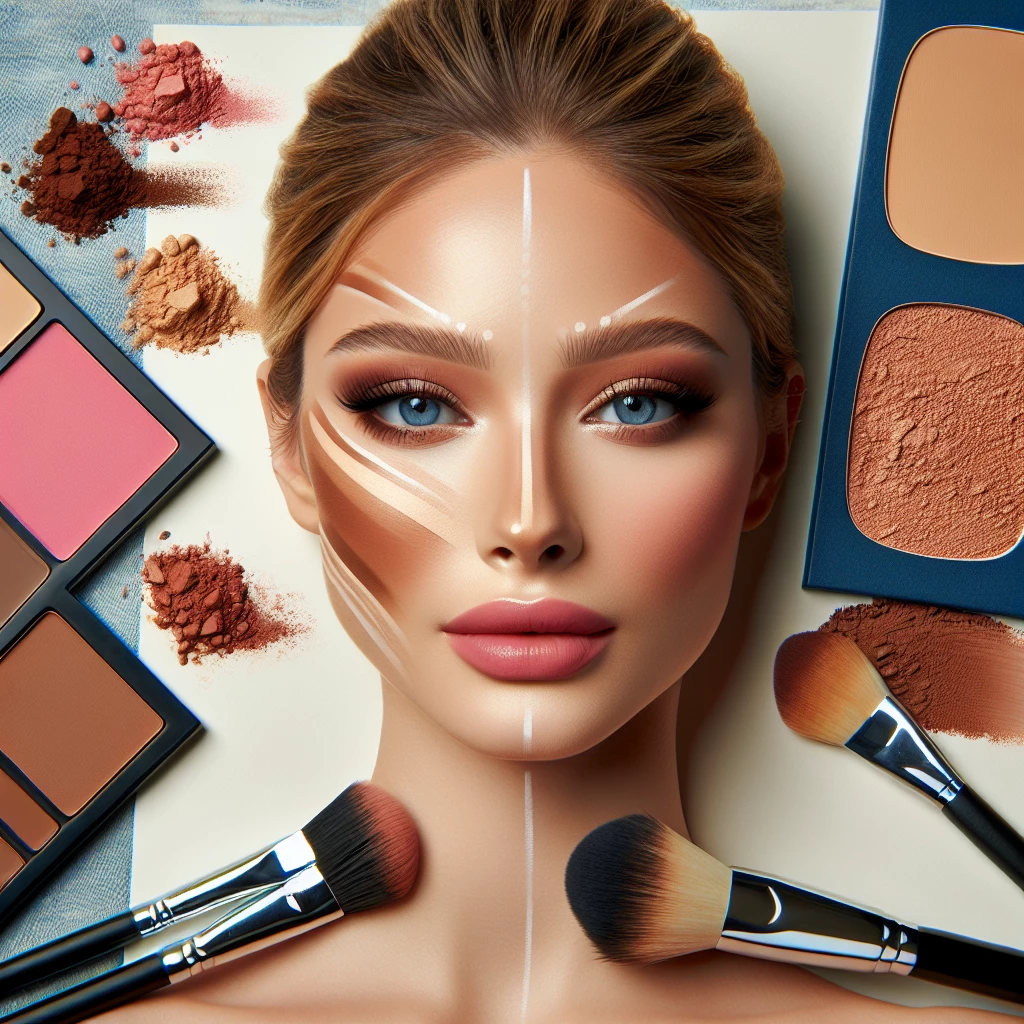
Let's begin our makeup tutorial for perfect contouring. Start by priming your face – prep it as you would for any makeup application. Apply foundation matching your skin tone all over, then start contouring by applying a darker shade on the areas you want to define - on the sides of your nose, beneath your cheekbones, your jawline, and the sides of your forehead.
Always remember, blending is the key to a natural-looking contour. Use a damp sponge or a soft brush to gently blend the darker shades into your foundation without dragging the color too far out.
Lastly, apply a lighter shade under your eyes, along the bridge of your nose, the center of your forehead, and the chin area. Again, blend well. Then you can set everything with a loose powder to avoid a cakey finish.
Contouring for Different Face Shapes
Contouring varies as per the face shape. For a round face, contouring beneath the cheekbones can create an illusion of a slimmer face. For a square face, it's about softening the hard edges by contouring all corners of the face.
Oval faces enjoy more flexibility with contouring, letting them play with light and shadows. Heart-shaped faces should focus more on the lower half of their face to achieve a balanced look.
Ultimately, the aim is to create an illusion of a balanced, more defined face. Remember, makeup is an art, not a necessity. Use these techniques to enhance your prettiness that's already there.
Common Contouring Mistakes
One of the common mistakes people make while contouring is using a shade far too dark for their skin tone. The contour color should only be a few shades darker than your base.
Another common error is using too much product. Keep in mind, less is more. Overdoing it can result in a muddy or dirty look, which we certainly want to avoid.
Also, remember to always blend upwards, not downwards, when applying your contour. This is to ensure a natural-looking shadow, simulating a lifted face structure. And of course, harsh lines are an absolute no-no.
Contouring is indeed a powerful game-changer in the makeup world, bringing definition and a sculpted look to your face. Like any other art, mastering contouring needs practice, but with this detailed guide and a bit of dedication, you'll certainly nail this technique. So, dive into this transformative realm of contouring and unveil the power of makeup. Remember, the most beautiful thing you can wear is confidence - makeup is just a tool to enhance it. Stay tuned for more beauty secrets from Makeup Queens!

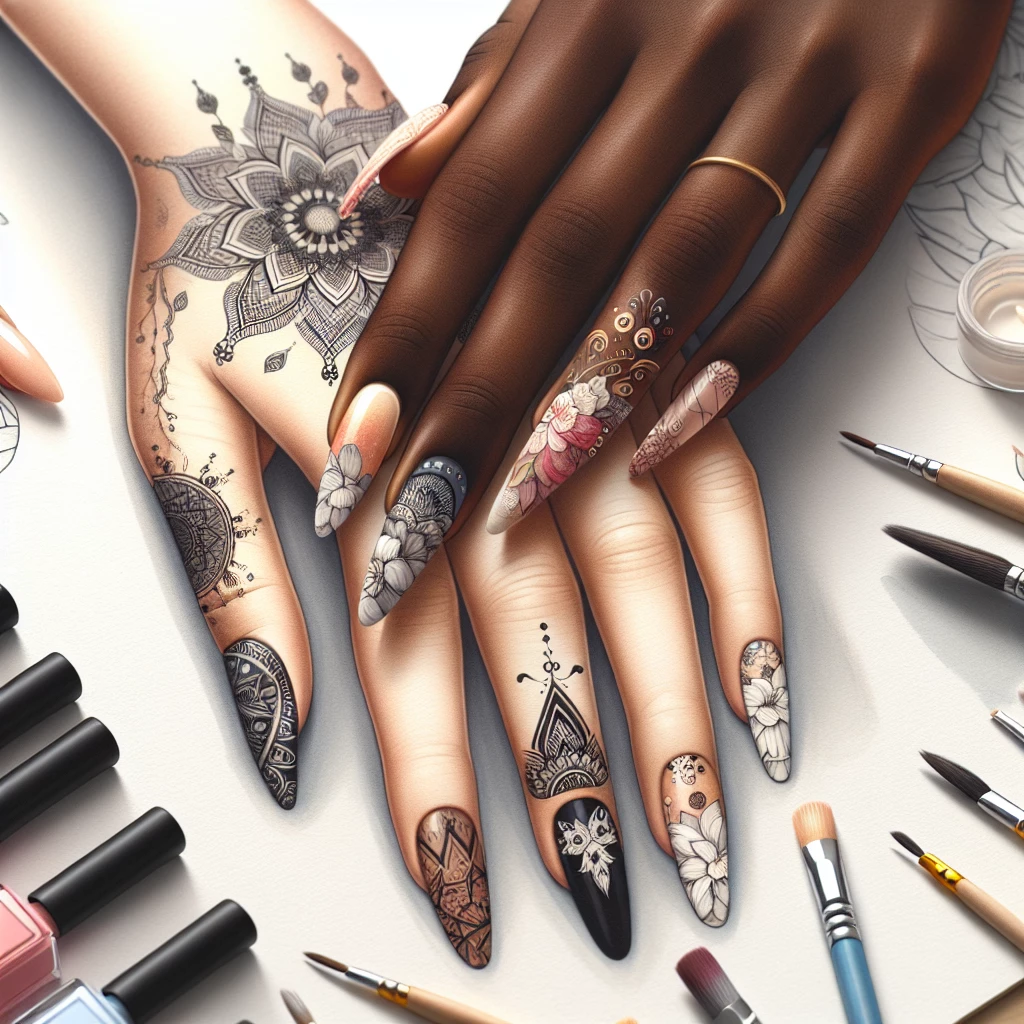
In-depth Dive into Nail Art
Get inspired by the latest trends in nail art and learn about the essential products for the same.

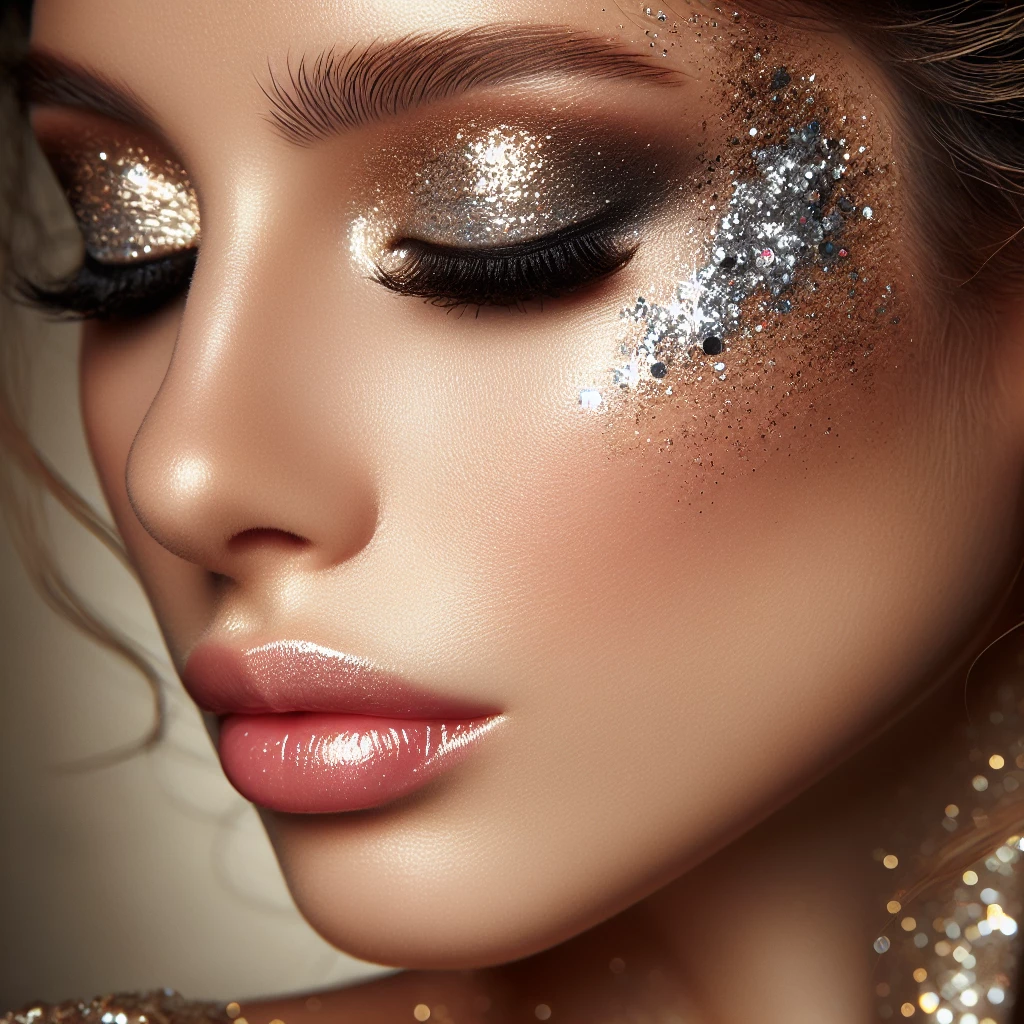
Glitter Makeup: Dazzle with Grace
Understand the do's and don'ts of glitter makeup and unveil the products that can help you sparkle.

Contouring 101: A Beginner's Guide
Comprehend the art of contouring and explore the best products to achieve that perfect sculpted look.

Decoding the Function of Primers
An overview of the uses, benefits, and the must-have primers for your daily beauty regime.
