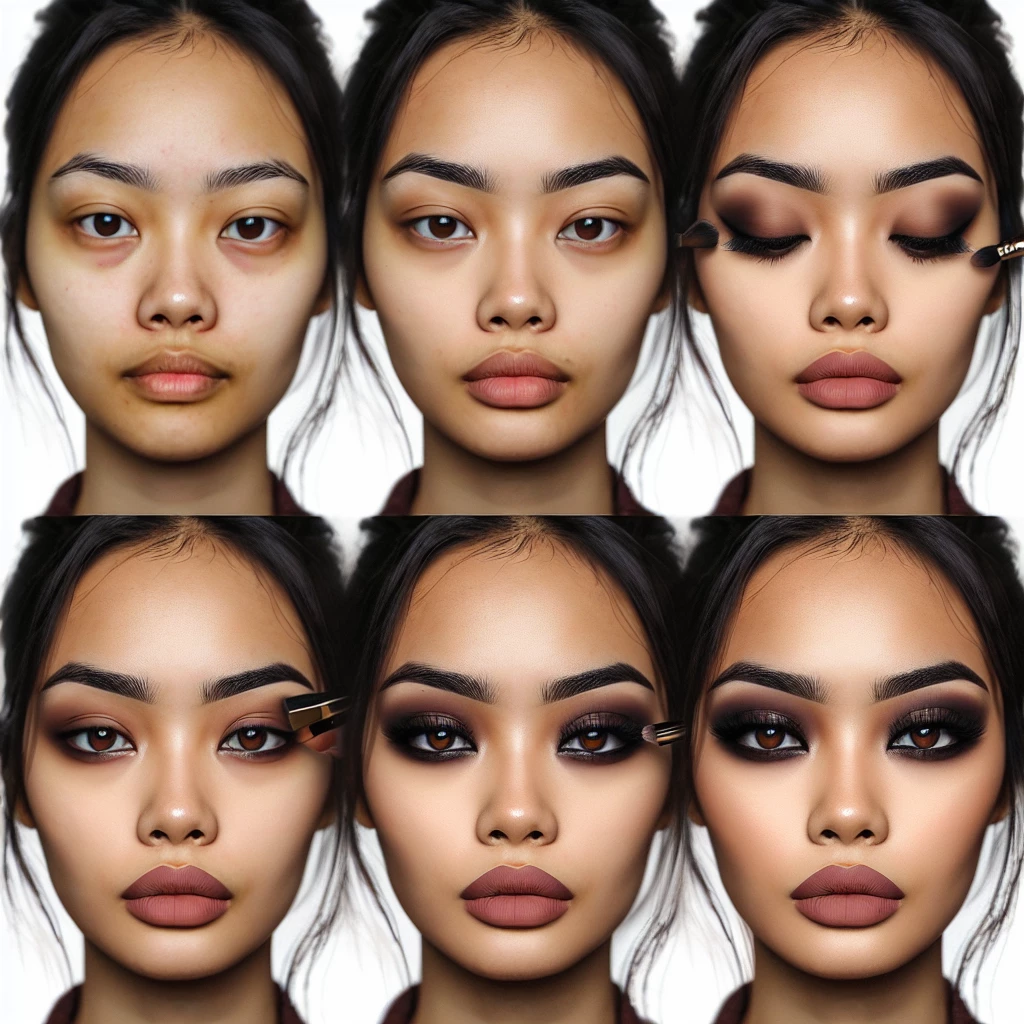
Welcome to another post on Makeup Queens, where we master the art of face painting. Today, we will be decoding the art of the smokey eye look, a classic makeup skill that is a must-have in your makeup guide. Whether you're new to makeup or an old-hand, mastering the smokey eye look is a game-changer, elevating your eye makeup game to a whole other level. Join us as we dissect this classic look in manageable, easy-to-follow steps. Get your makeup tools ready, let's get started!
Understanding the Smokey Eye
The smokey eye look dates back to ancient Egypt and it's been making waves in the fashion scene ever since. Characterized by a gradient blend of darker color from the lash line fading outwards, it's perfect for both a dramatic night out or a subtle day look. The key is in the blending.
This look revolves around three main colors; the base, the main color, and the highlighter. The base is usually neutral and it's used to prep the lid for the color to be added. The main color, usually darker, is what creates that smokey effect and the highlighter brings the look together, brightening and opening up the eye area.
The beauty of this look is in its versatility and adaptability. Although commonly created with black and greys, the smokey eye look can be created with any color palette you choose. It's simply about understanding the interplay of light and shadow.
Tools Needed
Creating the perfect smokey eye look requires a selection of the right tools. A selection of brushes varying in size, shape, and fluffiness are must-haves in your collection. This includes a fluffy blending brush, a precision brush, and a flat brush.
A good-quality eyeshadow palette with the necessary shades is also required. The quality matters as higher quality eyeshadows tend to be more pigmented and blend better making it easier to create a seamless gradient. Don't shy away from including bright colors in your collection. Part of the fun is experimenting with different shades.
Other tools to have on hand are a good-quality eye primer to ensure your masterpiece stays put, a gel or pencil eyeliner to define the shape of your eye, and finally, a voluminous mascara to frame your work.
Step-by-step Guide
Creating a smokey eye look requires a smooth canvas. This is where your base color and eye primer comes in. Start by applying the primer across the lid, then follow up with a neutral base color, this sets the tone for a smooth application.
Next, line your upper lash line with your chosen color. The line doesn't have to be perfect, as it's going to be smudged out to create that smokey effect. Apply the same color to your eyelid and blend the color upwards towards the crease of your eyes.
The final stage is to apply the highlighter. This should be applied under the brow bone and the inner corners of the eyes. And there you have it, a perfect smokey eye!
There you have it, your comprehensive guide to mastering this classic makeup look. Remember, practice makes perfect and every time you recreate this look, you'll refine your makeup skills. Whether you choose to stick to the classic black and grey palette or experiment with colours, the smokey eye look will serve you across different occasions. Until next time, keep making the world a more beautiful place, one smokey eye look at a time!
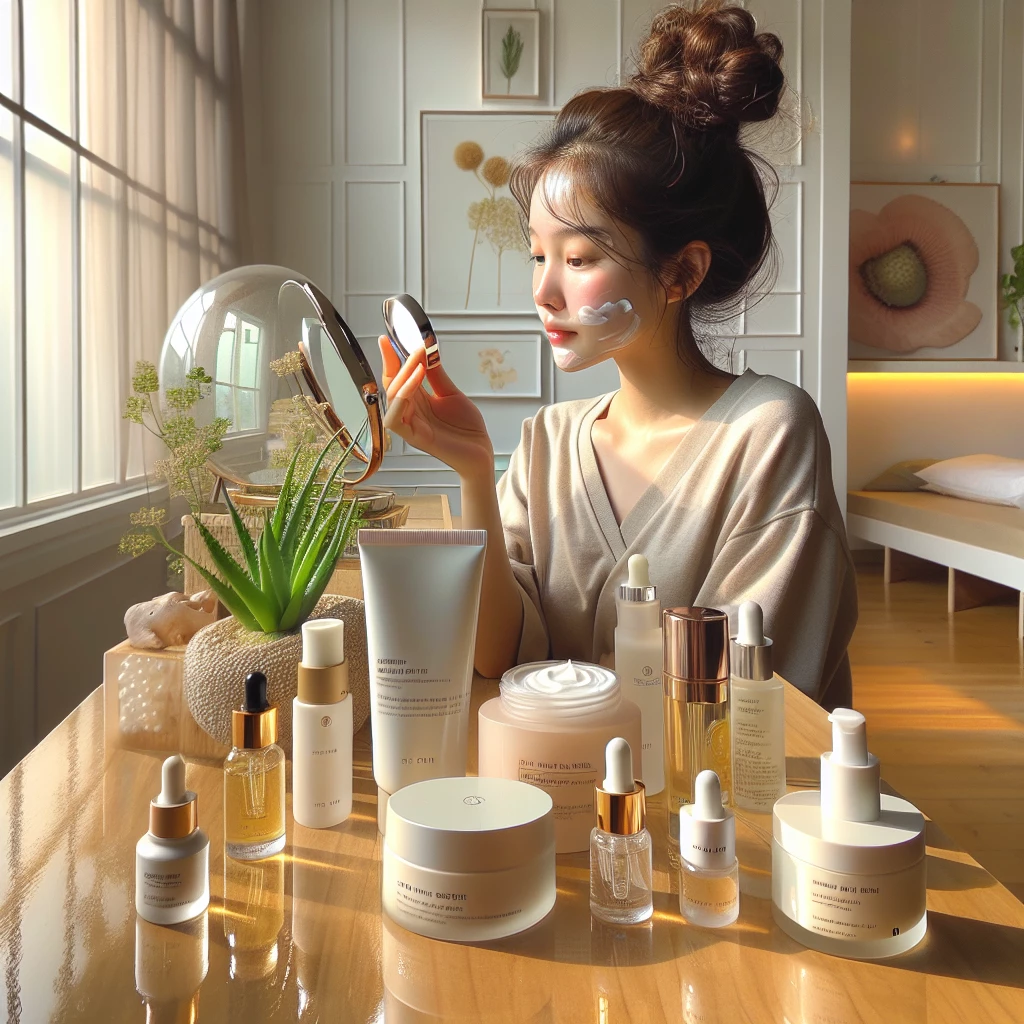
The Magic of K-Beauty
Explore the trend of Korean beauty and what makes it a global phenomenon.
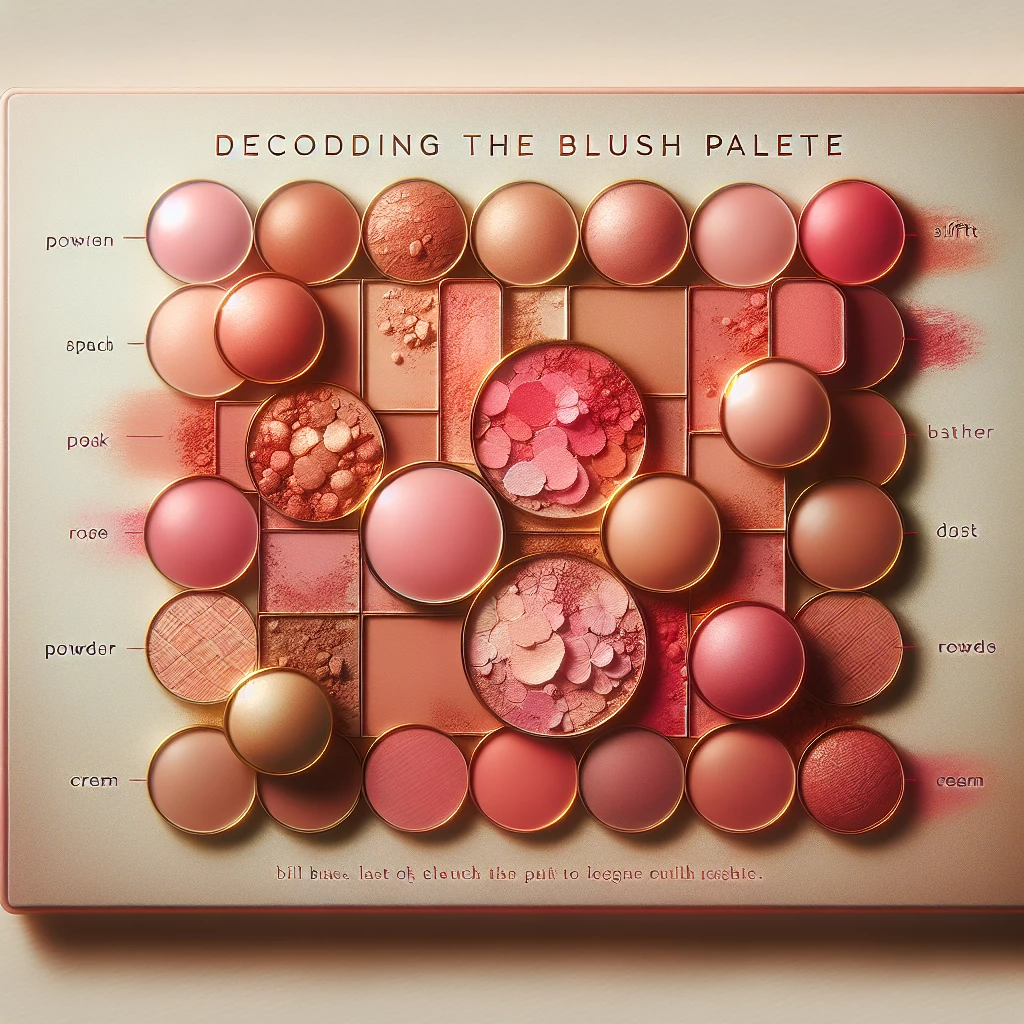
Decoding the Blush Palette
A comprehensive guide to using different shades of blush for various skin tones.
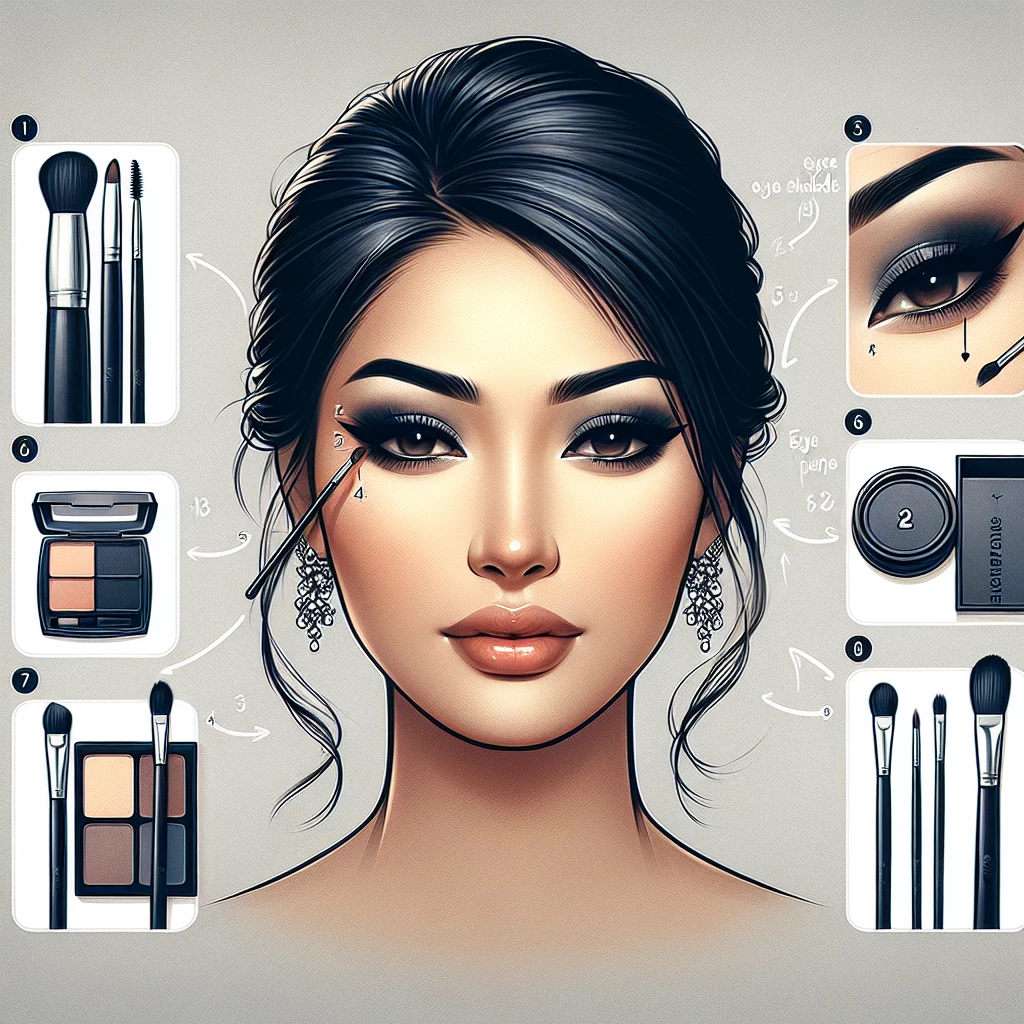
Creating Smokey Eyes: A Guide
Understand the art of achieving the perfect smokey eye look for any occasion.
Unmasking Lip Gloss Trends
Dive into the world of lip gloss, tracking its evolution and the latest trends.
