Welcome to another blog post here at Makeup Queens, where we're all about celebrating the art and magic of makeup. Today, we will delve into the world of contouring, an essential makeup application technique that can enhance your natural beauty and transform your features. Whether you're a seasoned pro or a makeup newbie, our Queen's Guide to Contouring is designed to help you perfect this skill. We will break down the steps, recommend some stellar products, and share some insider tips and tricks. Let’s get started.
What is Contouring?
Before we dive into the how-to, let's first understand what contouring is. Contouring is all about creating shadows and highlights on your face to enhance your natural features. It can give an illusion of a sharper jawline, sculpted cheekbones, a smaller nose, or even a slimmer face.
Contouring gives depth and definition to your face, which can often get lost when applying foundation. This technique can be as subtle or as dramatic as you'd like, depending on the look you're going for. For day-to-day makeup, a light hand with contouring can create a natural, polished look.
Every face is unique, so contouring isn't a one-size-fits-all process. The key is to understand your face shape and contour accordingly. This means strategically placing contour shades in areas where shadows naturally occur on your face.
Contouring Products Essential
There are a multitude of contouring products on the market, ranging from cream palettes to powder sets. When selecting a contouring product, consider your skin type and the finish you want. Cream contours are ideal for dry skin and give a more dewy finish, while powder contours work well on oily skin and provide a matte effect.
Your contour shade should be two shades darker than your skin tone to create a realistic shadow effect. Too dark, and it could look harsh; too light, and it won't serve its purpose. Brands like Fenty Beauty, Anastasia Beverly Hills, and Nyx offer a diverse range of contour products for various skin tones.
Other essential tools for contouring include a contour brush and a blending brush. Go for angled contour brushes for precise application, and fluffy blending brushes to create a seamless transition between your contour, blush, and highlight.
Step-By-Step Guide to Contouring
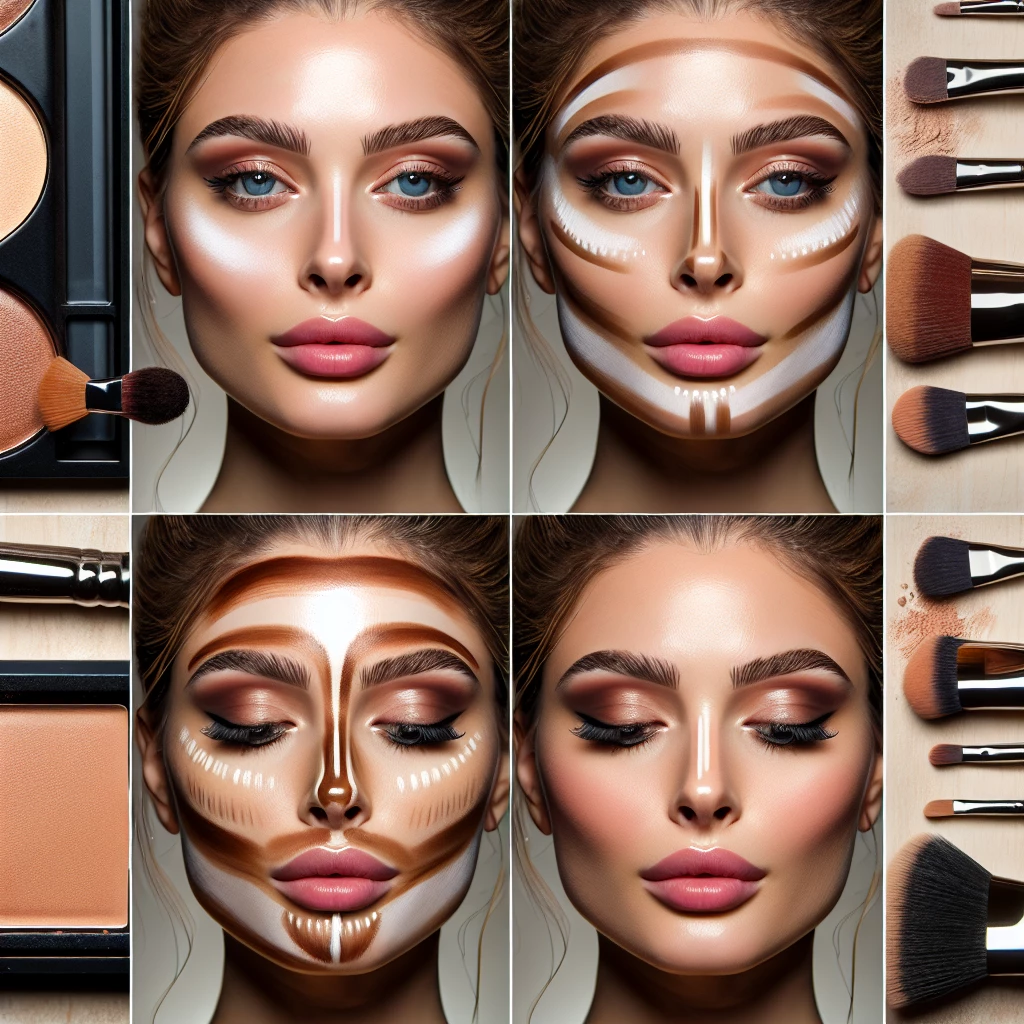
Now that we've covered the basics, let's get into the step-by-step guide. Start by prepping your skin - cleanse, tone, and moisturize. Apply your foundation all over your face to create an even canvas to work on.
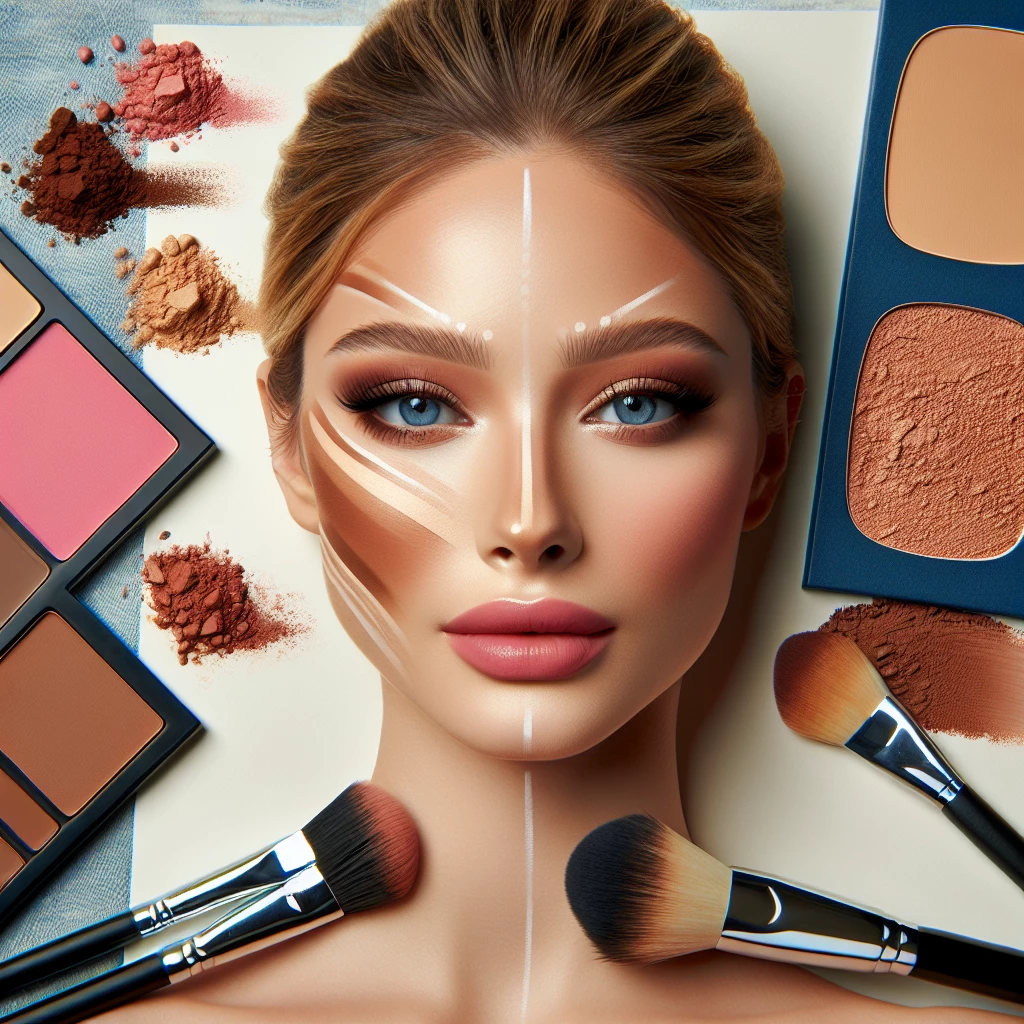
Next, apply the contour shade on areas you would like to recede or appear smaller. This could be the hollows of your cheekbones, your temple and jawline area, and the sides of your nose. Remember to blend well as harsh lines are a contouring faux pas.
After you've blended out your contour, apply your highlight. The highlight should go on areas where light naturally hits your face. This includes the tops of your cheekbones, the bridge of your nose, the center of your forehead, and your chin. Don't forget to blend well. The key to successful contouring is a well-blended, seamless finish.
Common Contouring Mistakes to Avoid
Contouring can be tricky, and mistakes can happen. One common mistake is using the wrong shade for contouring. As mentioned earlier, your contour shade should be two shades darker than your skin tone for a natural look. Too dark or too orange can result in a muddy look.
Another common mistake is not blending enough. Contouring should not be detectable, so it's crucial to blend, blend, blend. Make sure there are no harsh lines or visible color changes on your face. Also, a common misconception is that more product results in a better contour, but in reality, less is more. It's easier to add product than to take some away.
Lastly, remember that one contour technique does not fit all. Understand your face shape and apply the contour in the areas that will flatter your features the most.
In the End, Practice Makes Perfect
Like any makeup technique, mastering contouring takes time and practice. It might seem intimidating at first, but once you get the hang of it, it can enhance your makeup game significantly.
Don't be discouraged if you don't get it right the first time. A great way to learn and improve is by experimenting. Try different contouring products, play with the placement, and find what works best for you.
Remember that makeup is a form of self-expression, so have fun with it. Done right, contouring can boost your confidence and make you feel like a true Makeup Queen.
We hope our Queen's Guide to Contouring has shed light on how to enhance and elevate your makeup look with contouring. Remember, practice makes perfect, so don't be afraid to experiment until you find what works best for your face shape and skin tone. With the right tools, products, and techniques, you too can master the art of contouring. Happy practicing, and until our next post, keep shining, Makeup Queens!

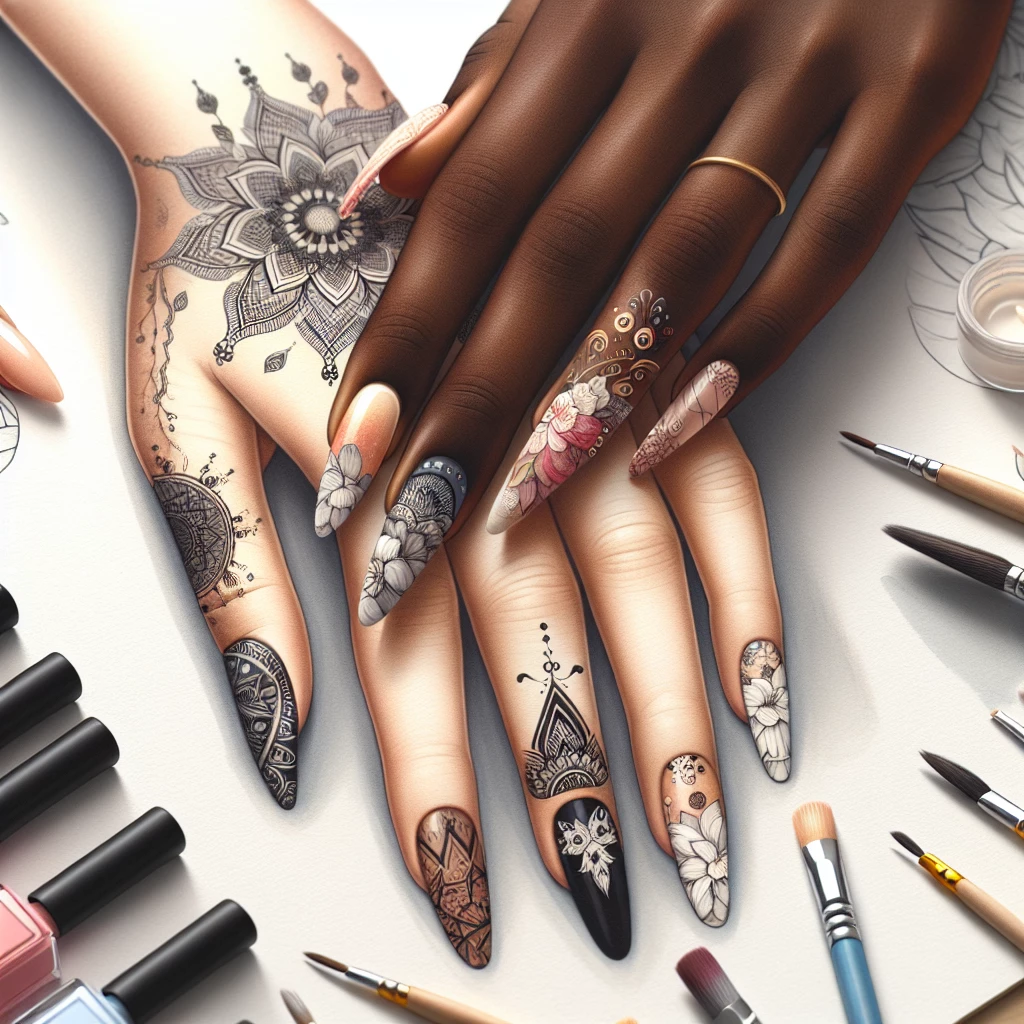
In-depth Dive into Nail Art
Get inspired by the latest trends in nail art and learn about the essential products for the same.

Glitter Makeup: Dazzle with Grace
Understand the do's and don'ts of glitter makeup and unveil the products that can help you sparkle.

Contouring 101: A Beginner's Guide
Comprehend the art of contouring and explore the best products to achieve that perfect sculpted look.

Decoding the Function of Primers
An overview of the uses, benefits, and the must-have primers for your daily beauty regime.
