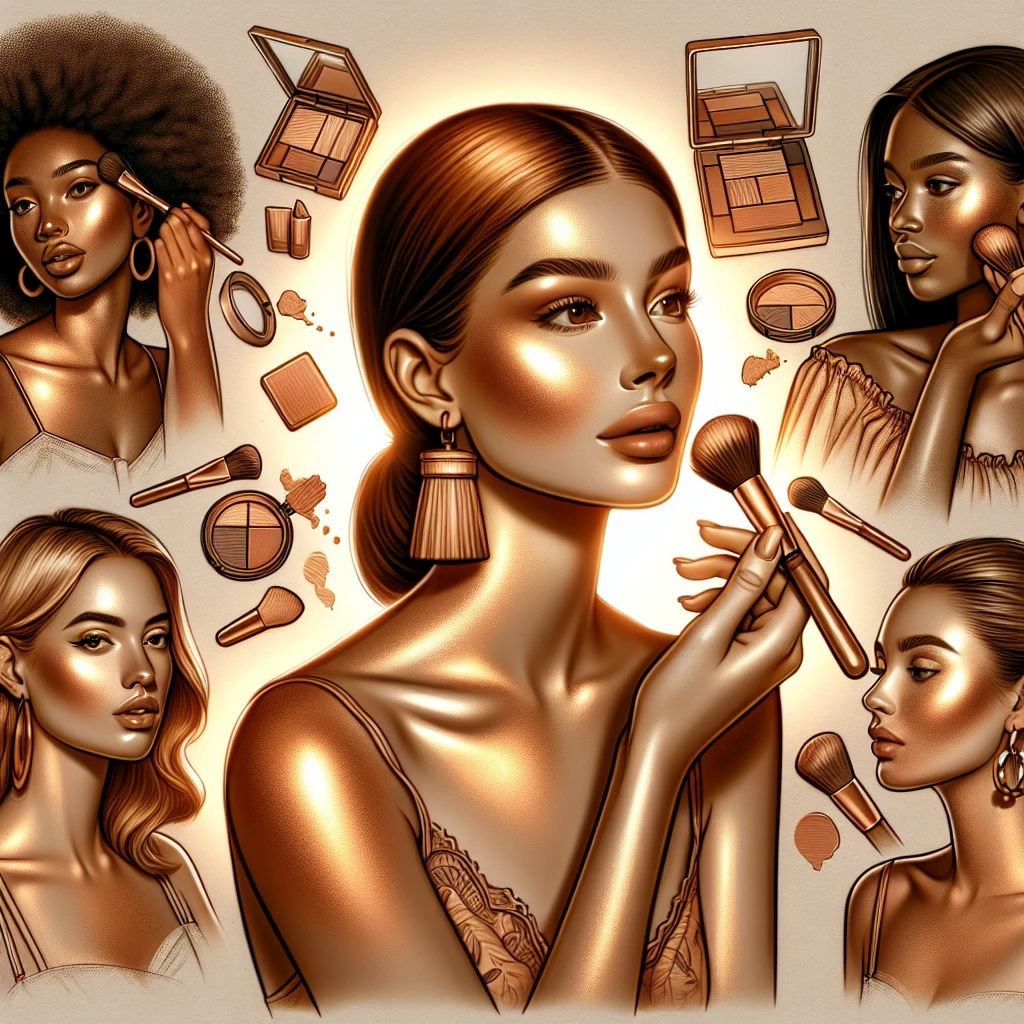
Welcome, beauty lovers, to another post that is aimed to make your makeup game stronger! Today on Makeup Queens, we're embracing the sun and diving into the sun-kissed looks popularized by the bronzer. An undeniable beauty trend, bronzer can provide a natural, warm glow that resembles a day spent in summer sunshine. Mastering its application technique, however, can be a bit tricky. So let's explore the bronzer basics to achieve that perfect sun-kissed look.
Understanding The Bronzer
Before we even start, let's get to know our hero a bit better: the bronzer. Essentially, a bronzer is a makeup product that can add depth and dimension to your skin, giving it a sunkissed look. It's lighter than contour but darker than your natural skin tone.
Bronzers come in different shades and formulations. Some have a matte finish, others are shimmering, while some provide a satiny finish. Finding the right shade and formulation that suits your skin tone and type is crucial to achieving a natural glow.
Even more importantly, a good bronzer should blend seamlessly onto your skin and last all day. This means you may have to try out several products before finding your holy grail bronzer. But the trial and error process is part of the makeup journey!
Choosing the Right Bronzer for Your Skin Tone
Choosing a bronzer that complements your skin tone is important for creating a natural look. If you have a fair skin tone, opt for a honey-colored bronzer. Medium skin tones do well with a rose-bronze or gold flecked bronzer. Dark skin tones look radiant with an amber or tawny bronzer.
It’s also important to consider the undertone of your skin. Cool skin tones pair well with a bronzer that has pink or red undertones. Warm skin tones work best with a bronzer that has gold or yellow undertones.
Keep in mind that a bronzer should be only one to two shades darker than your natural skin tone. Don’t go too dark, or it will look unnatural.
Bronzer Application Technique
The primary aim of the bronzer is to mimic where the sun would naturally tan your face- the high points. This includes the forehead, bridge of the nose, high points of your cheeks, and chin. Gently sweep it across these areas in a '3' shape starting from your forehead, swiping across the cheekbones and onto your jawline.
Blending is crucial when applying bronzer. Ensure that there are no hard lines and the color is evenly distributed. A fluffy, angled brush is the best tool for bronzer as it allows for more control and an even distribution of the product.
A common mistake beginners make is using too much product. Instead, start with a light hand, then gradually build the product up. It is always easier to add more than to take away. Remember, the goal is a natural, sun-kissed look.
Final Tips for Perfecting Your Sun-Kissed Look
Remember to always exfoliate and moisturize your skin before applying any makeup product. This ensures you have a smooth canvas to work on, and it helps the makeup stay longer.
Don't forget your neck! Your face and neck should match, so use a little bronzer on your neck as well. Also, check your makeup in natural light. It will give you the most honest representation of what your makeup actually looks like.
Finally, always use a primer. It not only makes your makeup last longer but also allows for smoother application. With the right knowledge, tools, and techniques, anyone can master the art of bronzer for the perfect sun-kissed look.
Mastering the art of bronzer application is a makeup skill that makes a world of difference in achieving not the sun-kissed look but the radiant, natural glow. We hope these bronzer basics help you on your makeup journey. Remember, it's all about practice and finding what works best for your unique beauty. Now go out there, shine bright, and show the world your beautiful sun-kissed look! Until next time, Makeup Queens!
The Magic of K-Beauty
Explore the trend of Korean beauty and what makes it a global phenomenon.
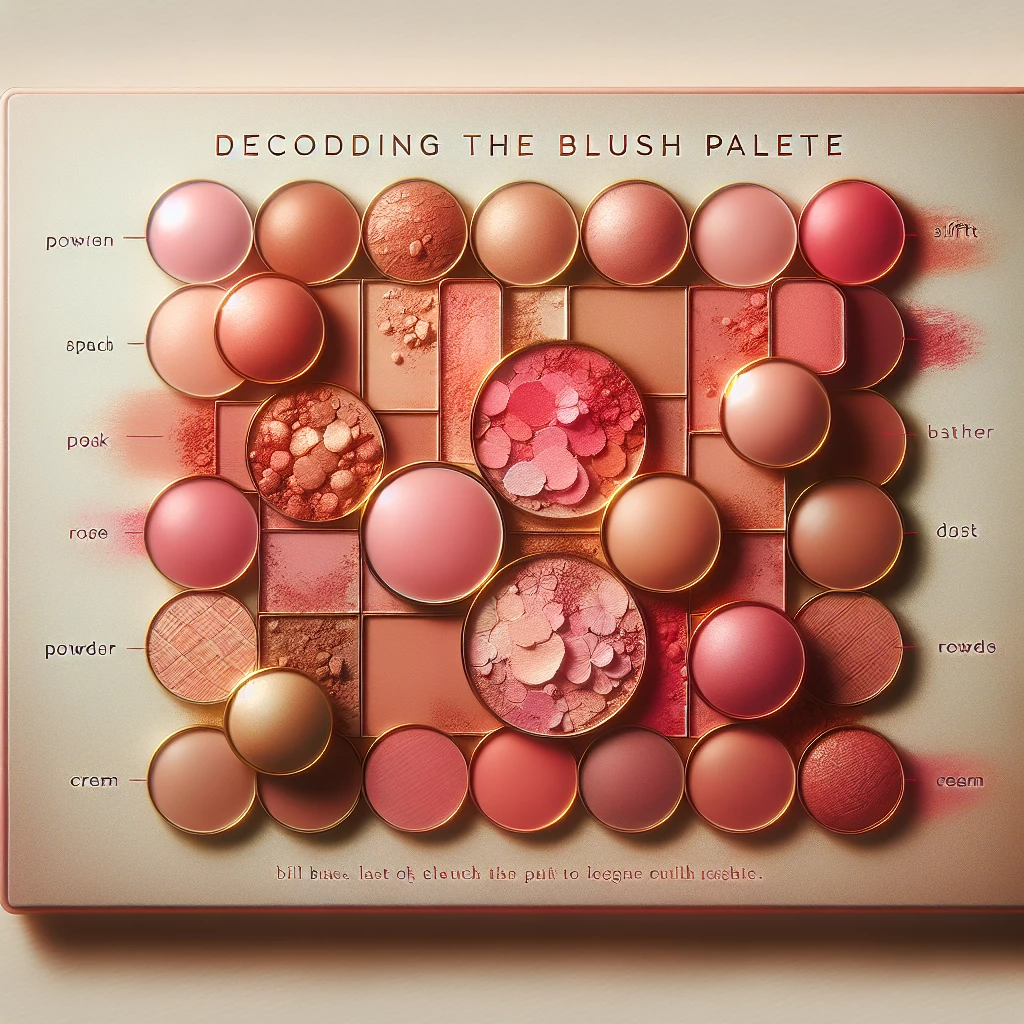
Decoding the Blush Palette
A comprehensive guide to using different shades of blush for various skin tones.
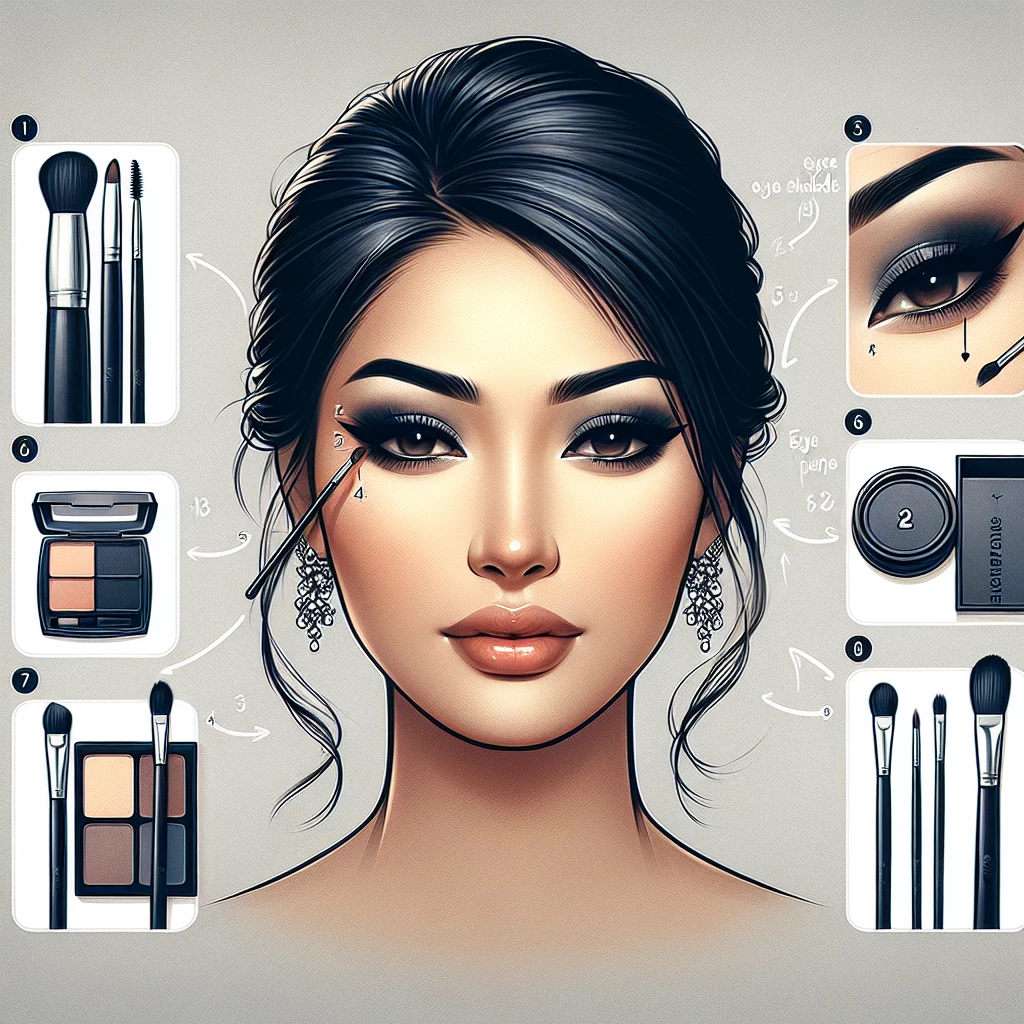
Creating Smokey Eyes: A Guide
Understand the art of achieving the perfect smokey eye look for any occasion.
Unmasking Lip Gloss Trends
Dive into the world of lip gloss, tracking its evolution and the latest trends.
