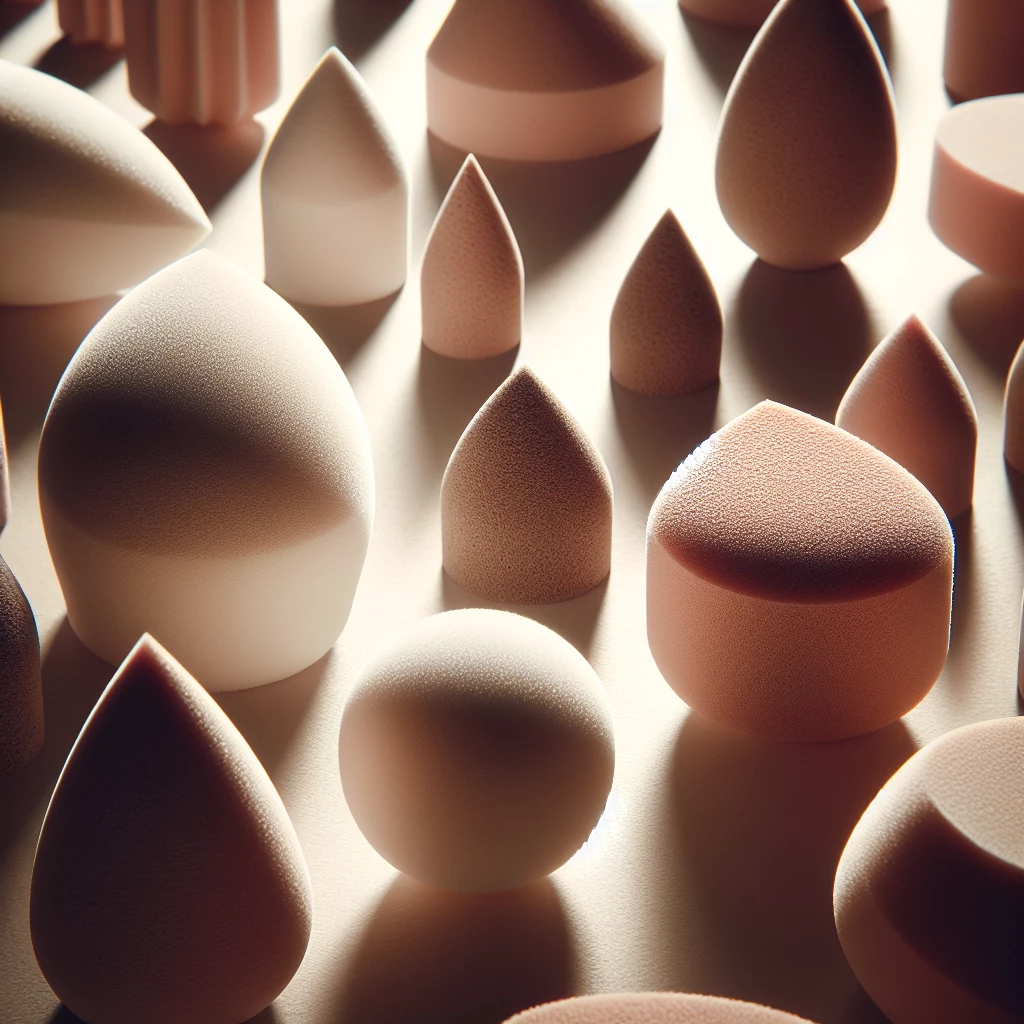
Hello fellow makeup queens! The path to the perfect, flawless makeup application often begins not with the makeup itself, but with the tools we use. Specifically, the unassuming, yet all-important: makeup sponges. These little makeup applicators may seem simple but they're actually a gamechanger when it comes to getting a perfect finish. Let's dive into this makeup tutorial about adorable applicators: a guide to makeup sponges.
Types of Makeup Sponges and Their Uses
Makeup sponges come in different shapes, sizes, and textures, each designed for a specific application. The beauty blender, a teardrop-shaped sponge, is perhaps the most popular of them all. Its pointed end is perfect for precision jobs like under-eye concealing, while the larger end is great for foundation and blush application.
The gourd-shaped sponge is another makeup applicator worth mentioning. The difference is its flat surface, which allows for a more controlled application of the product. The contour sponge, on the other hand, has a sharp edge that allows you to define your cheekbones and jawline with precision.
Lastly, we have the silicone makeup sponge. Instead of absorbing the product like other sponges, silicone makes sure the majority of your makeup ends up on your face, not your applicator. This makes it a cost-effective tool, especially for high-end, more expensive makeup.
Maintenance of Your Beauty Tools
As with other beauty tools, makeup sponges need to be adequately maintained in order to extend their lifespan and ensure they do the best job possible. Regular cleaning prevents product build-up and helps to keep away bacteria which can cause breakouts.
Washing your sponges after each use with a mild cleanser or a specially formulated sponge cleanser is highly recommended. It's also important to replace your sponges regularly - about every three months for beauty blenders and every six months for silicone sponges.
Remember, if a sponge starts crumbling, changing color or has a peculiar smell, those are signs that it's time to replace it. After all, flawless makeup is best achieved with clean, quality tools.
Tips for Makeup Sponge Application
Using a makeup sponge is easy once you know the basics. For a smooth and even application, always wet your sponge before using it. Squeeze out the excess water; it should be damp but not soaking. Damp sponges ensure that makeup goes on your face, and not into the sponge.
When applying product, whether it's foundation or concealer, avoid dragging or rubbing the sponge across your skin. Instead, gently bounce or dab it along your skin. This technique is often called 'stippling' and it gives a more natural, airbrushed look.
Also, remember that less is more. Start with a small amount of product and gradually add more if needed. A heavy hand can lead to cakey makeup.
Remember, achieving flawless makeup is as much about the applicator as it is about the product. Understanding your makeup sponges and how to use and maintain them can revolutionize your makeup routine. With every dab, you’re one step closer to perfecting that smooth, naturally glowy look. Thanks for joining this makeup tutorial on adorable applicators, helping every one of us become the makeup queen we all aspire to be!
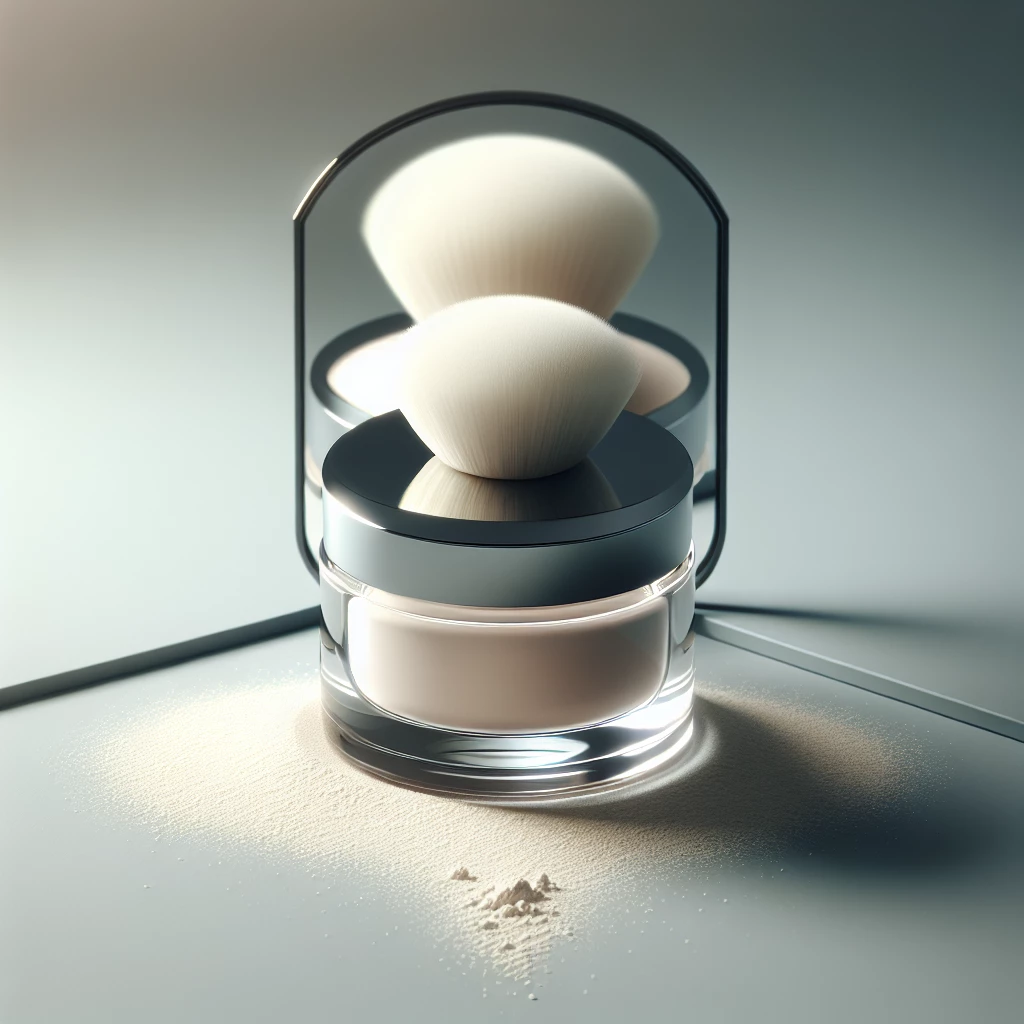
Transform with Translucent Powder
Learn how to use translucent powder to set your makeup and control oil for that flawless finish.
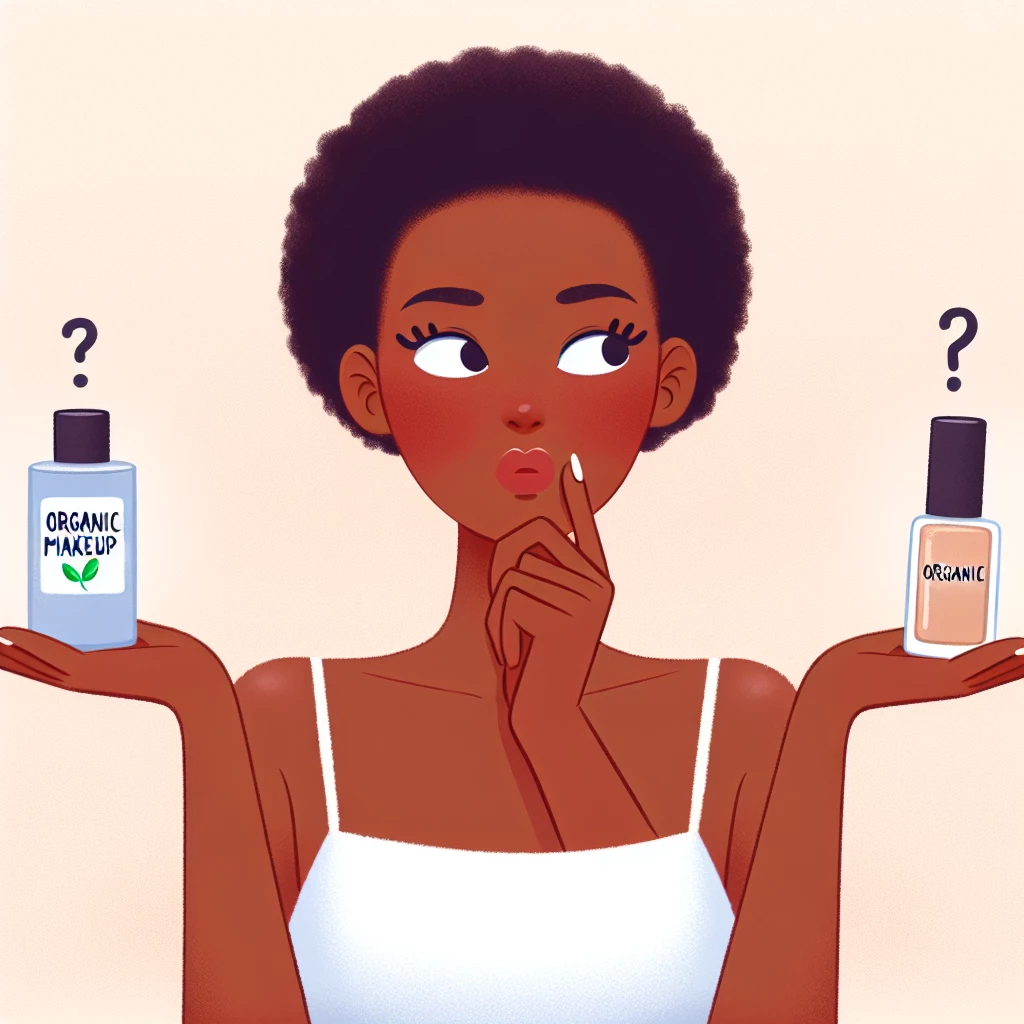
Organic Makeup: Is It Worth It?
Discover the pros and cons of organic makeup, and decide if it’s the right choice for you.
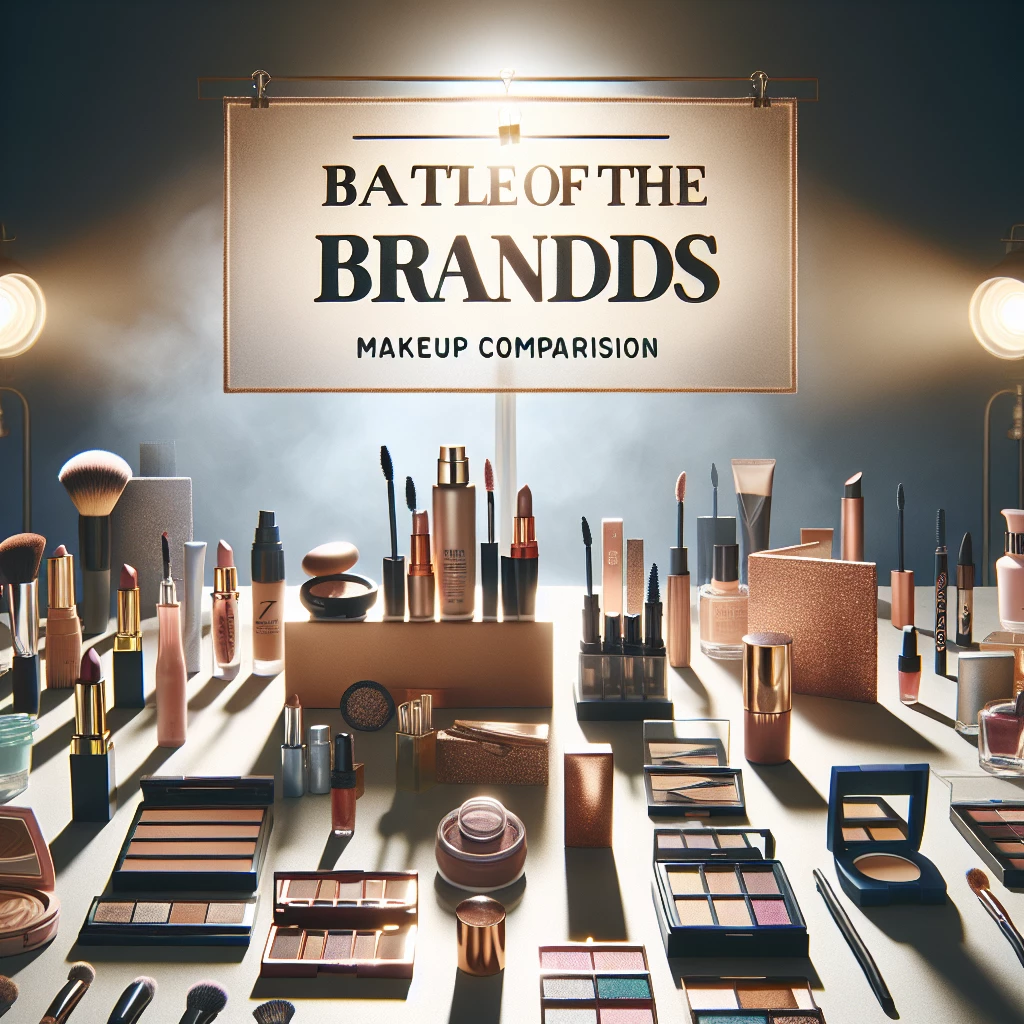
Battle of the Brands: Makeup Comparison
In-depth comparison of popular makeup brands to help you make the best choice for your skin.
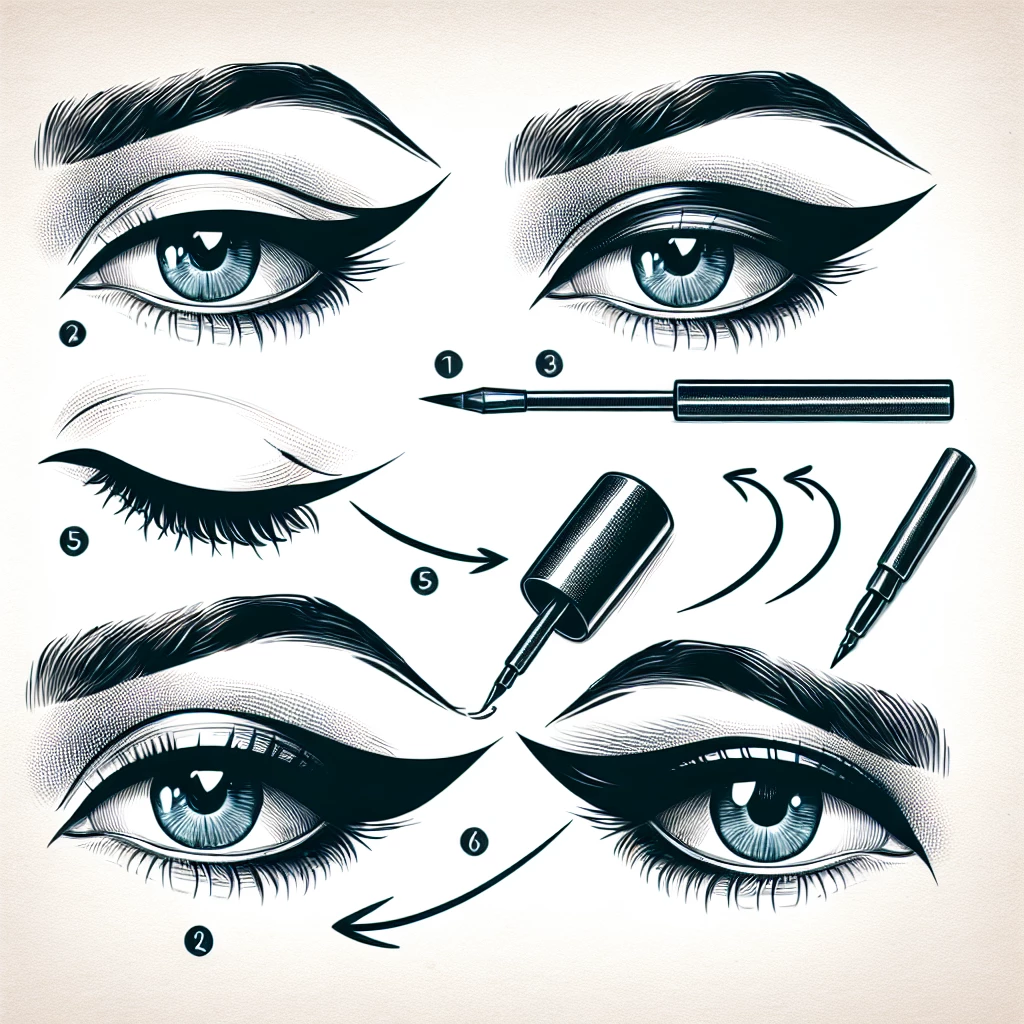
Creating a Classic Winged Eyeliner
Master the classic winged eyeliner look with our step-by-step guide.
