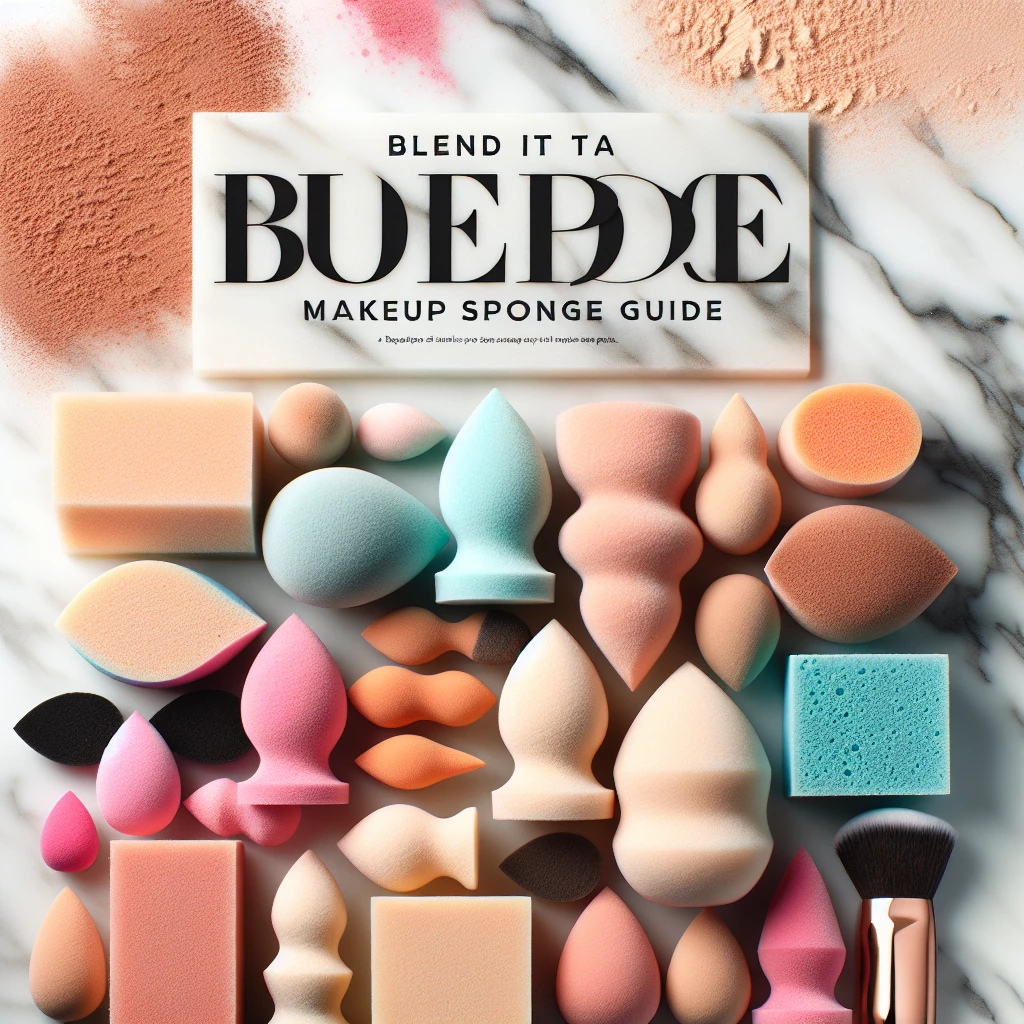
We all crave that airbrushed, flawless finish when applying our makeup, don't we? The secret is not always in the cosmetics we use, but often in the tools, especially the magical makeup sponge. This handy tool, if used correctly, can revolutionize the way you apply your makeup and weave magic into your daily beauty regimen. This article will guide you through the different types of sponges, their uses, and some pro tips for blending your makeup like a professional. Let’s dive into the world of makeup sponges and unlock some beauty secrets.
Understanding the Types of Makeup Sponges
Makeup sponges come in all shapes and sizes, and while they may seem similar, each type has a unique purpose and usage. The diversity might be overwhelming, but understanding the difference is the key to achieving a flawless, airbrushed finish.
Let's start with the most popular type, the teardrop-shaped sponge, known for its versatility. The rounded part is excellent for broad areas, while the pointed tip allows for precise application around the nose or under-eye area. On the other hand, we have the flat edge sponge, which is perfect for contouring and blending.
Then there's the micro-mini sponge, an all-time favourite for targeting small, hard-to-reach areas. It's the right pick for applying concealer or detailed contouring. There are also sculpting sponges that have multiple flat edges for the most sculpted, sharp look.
Choosing the Right Sponge for Your Needs
Choosing the right sponge depends on the makeup application you are aiming for. If you desire a natural, everyday look, a round or teardrop-shaped sponge will be your perfect ally. For those who aim for more detailed contouring or highlighting, a flat-edged or sculpting sponge would be more suitable.
Your choice of sponge also depends on the type of cosmetic you use. Cream and liquid products blend best using a damp sponge, while dry sponges work excellent with powders. Always remember that blending is the key, and the right sponge can make all the difference.
For those with sensitive skin, hypoallergenic and latex-free sponges are the best choice. They not only prevent any possible skin irritation but also provide an impeccable finish.
Proper Makeup Sponge Care and Hygiene
Your makeup sponge is a breeding ground for bacteria, which if not cleaned properly, may lead to skin breakouts. Make sure to clean your sponge regularly by using a gentle soap or a specialized cleanser.
After washing, always let your sponge air dry rather than locking it up in a dark drawer. Remember that your sponge needs replacing every few months, depending on its use and how well it's maintained. A clean sponge not only ensures a flawless application but also keeps your skin healthy and radiant.
Finally, remember to wet your sponge before use. It not only helps with the blending of product but also prevents the sponge from absorbing too much of it. An adequately wet sponge yields a more professional, airbrushed finish.
So, there you have it, your ultimate guide to makeup sponges! Remember, the right tools, like makeup sponges, can make your makeup application much easier and give it an airbrushed, professional finish. The secrets have been spilled, so go out and experiment to find the best sponge and technique for your unique skin. Your path to blending like a pro begins here!
Transform with Translucent Powder
Learn how to use translucent powder to set your makeup and control oil for that flawless finish.
Organic Makeup: Is It Worth It?
Discover the pros and cons of organic makeup, and decide if it’s the right choice for you.
Battle of the Brands: Makeup Comparison
In-depth comparison of popular makeup brands to help you make the best choice for your skin.
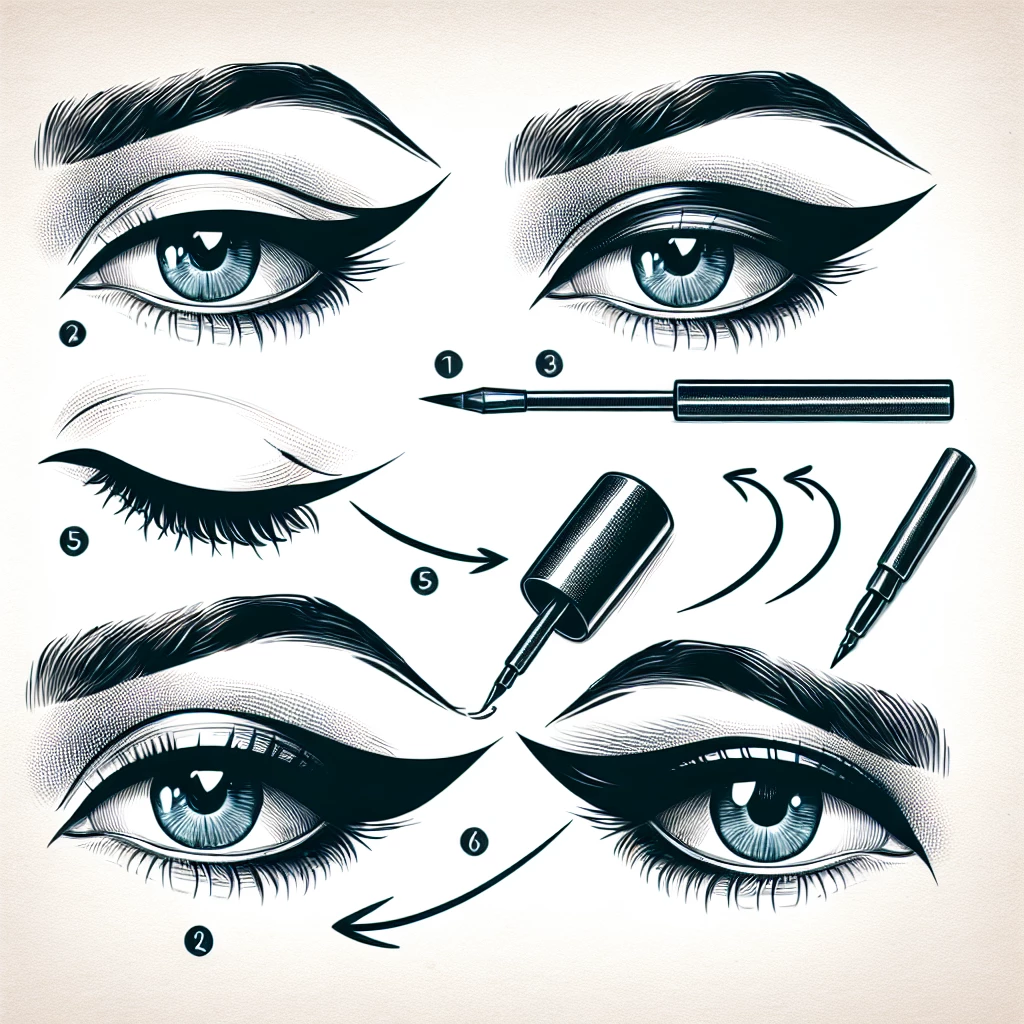
Creating a Classic Winged Eyeliner
Master the classic winged eyeliner look with our step-by-step guide.
