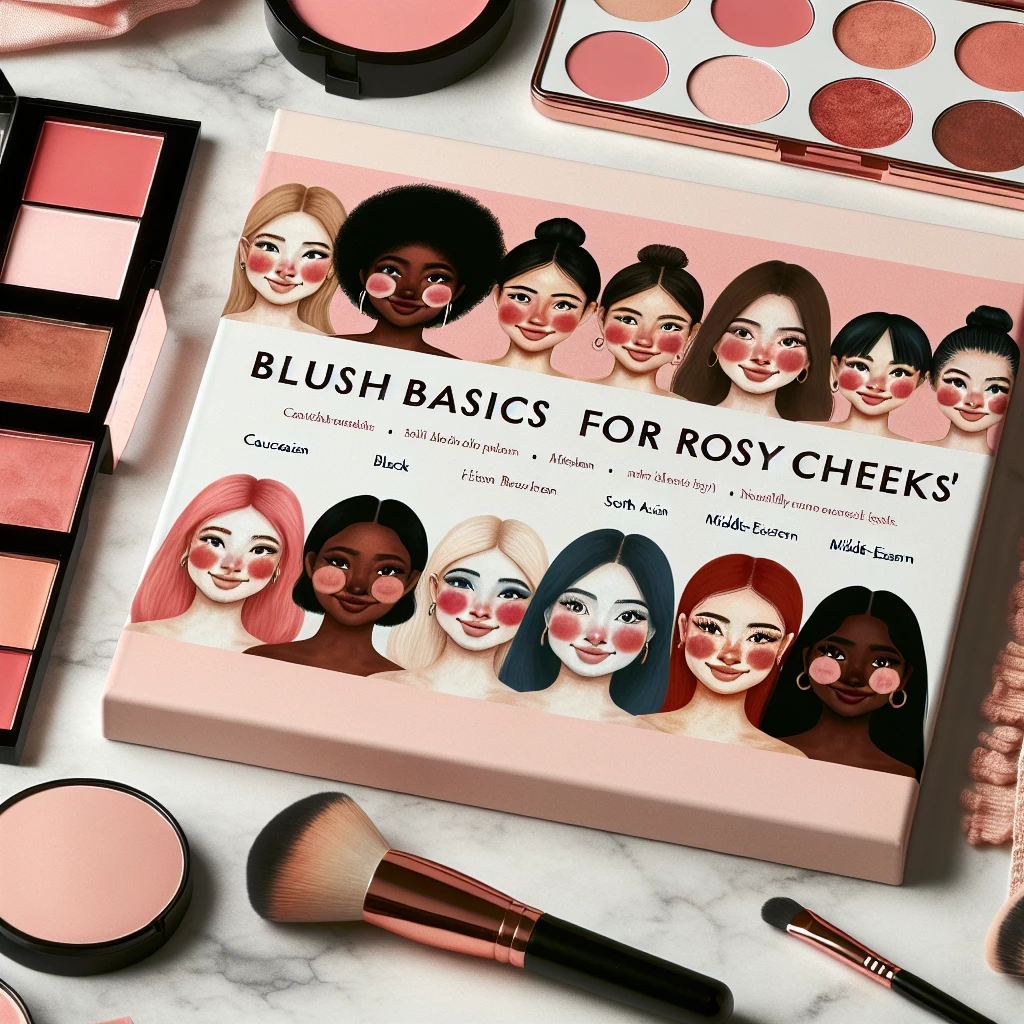
Have you ever wondered how some women achieve that natural, rosy glow on their cheeks? It's not a secret any longer – the answer lies in mastering the art of applying blush. This essential element of makeup routine can instantly augment your natural skin tone and accentuate your facial features, making you look more youthful and radiant. But, as simple as it sounds, applying blush requires a degree of knowledge and practice. In this detailed guide, we’ll share everything you need to know about blush basics and how to get those desirable rosy cheeks.
Choosing the Right Blush Color
Selecting the right hue of blush is vital. Not all blush tones are going to suit everyone. The best blush color for you typically depends on your skin tone and undertone. To optimize the natural in your makeup, try to choose a blush that matches your cheeks' color when they're naturally flushed.
For fair to light skin tones, pink, peach, and light coral hues can beautifully enhance your complexion. Women with medium to olive skin tones can resort to rich pink, warm mauve, and deep peach shades. Meanwhile, if you have a dark skin tone, you can go for bold shades like fuchsia, berry, warm brown or raisin.
Moreover, some blushes come in different finishes – matte, satin, and shimmer. Matte blushes are perfect for a natural, subtle look. Satin blushes have a slight shimmer and offer a healthy glow. Shimmer blushes are sparkly and ideal for a glamorous night out. Remember to choose the one that fits your desired make-up style for the day.
Applying the Blush
The next step in achieving those rosy cheeks is the actual application of the blush. The golden rule of blush application is less is more. You can always add more if you need it, but if you apply too much to begin with, it's more challenging to tone it down. Start by lightly dipping your brush into your blush, tap off the excess product, and apply.
Avoid applying blush too close to your nose or too far below the apple of your cheeks. A good technique is to apply the blush on the apple of your cheeks, then blend it upwards towards your hairline. The direction and angle at which you apply the blush can enhance different parts of your makeup.
Blending is much essential to diffuse the color and get a natural look. Take your time to blend, blend, and blend! If the blush pigmentation is too much, go over it with a clean, fluffy brush to soften the look.
Blush Type: Powder, Cream, or Gel?
Blush comes in many forms: powder, cream, and gel. Each has its benefits and application techniques. Powder blush is the most common and the easiest to apply. It's great for all skin types but works best on oily skin.
Cream blush provides a more ‘dewy’ finish and works best on dry or older skin to add some hydration and life back into the skin. The application can be slightly trickier as you have to blend quickly before it dries.
Lastly, gel or liquid blush has a long-lasting formula and gives a natural, see-through color. It's best for normal to oily skin. As it dries quickly as well, it also needs to be blended after immediate application.
Mastering the art of blush application can impact your makeup game significantly, providing an instant lift to your face with a hint of color. It is important to consider the right hue, the appropriate amount, the proper positioning, and the best blending techniques. Last but not least, don't forget to choose the right type of blush that complements your skin type. With these blush basics in your knowledge arsenal, achieving the perfect rosy cheeks is within your grasp!

Transform with Translucent Powder
Learn how to use translucent powder to set your makeup and control oil for that flawless finish.

Organic Makeup: Is It Worth It?
Discover the pros and cons of organic makeup, and decide if it’s the right choice for you.

Battle of the Brands: Makeup Comparison
In-depth comparison of popular makeup brands to help you make the best choice for your skin.

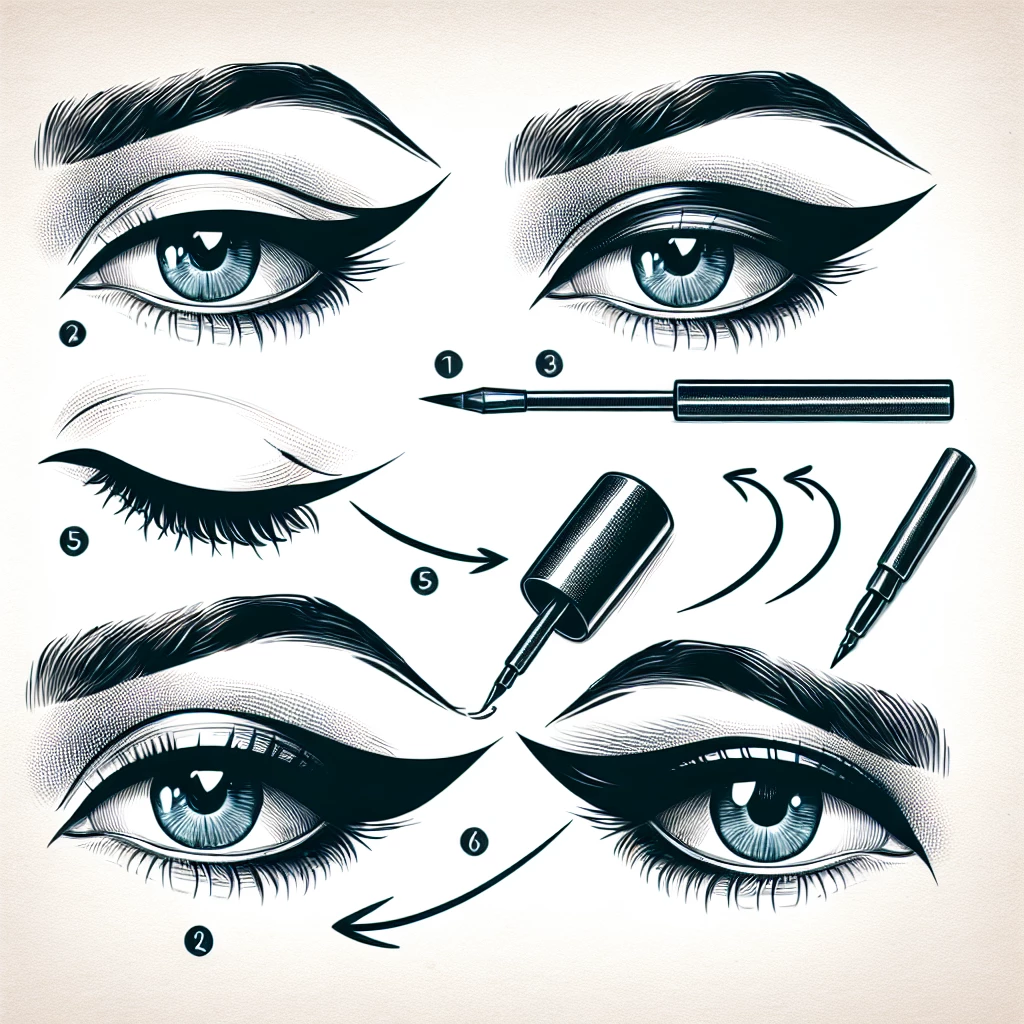
Creating a Classic Winged Eyeliner
Master the classic winged eyeliner look with our step-by-step guide.
