Welcome to another edition of our Makeup Queens tutorials series. This time around, we are taking on a much-debated makeup technique, contouring. Seen on every runway from Milan to New York, contouring, when done right, can enhance your natural features and give your face an impressive, sculpted appearance. This step by step makeup guide will break down the art of contouring, making it a breeze even for beginners. So ladies, it's time to grab your tools and let's conquer contouring.
Understanding Your Face Shape
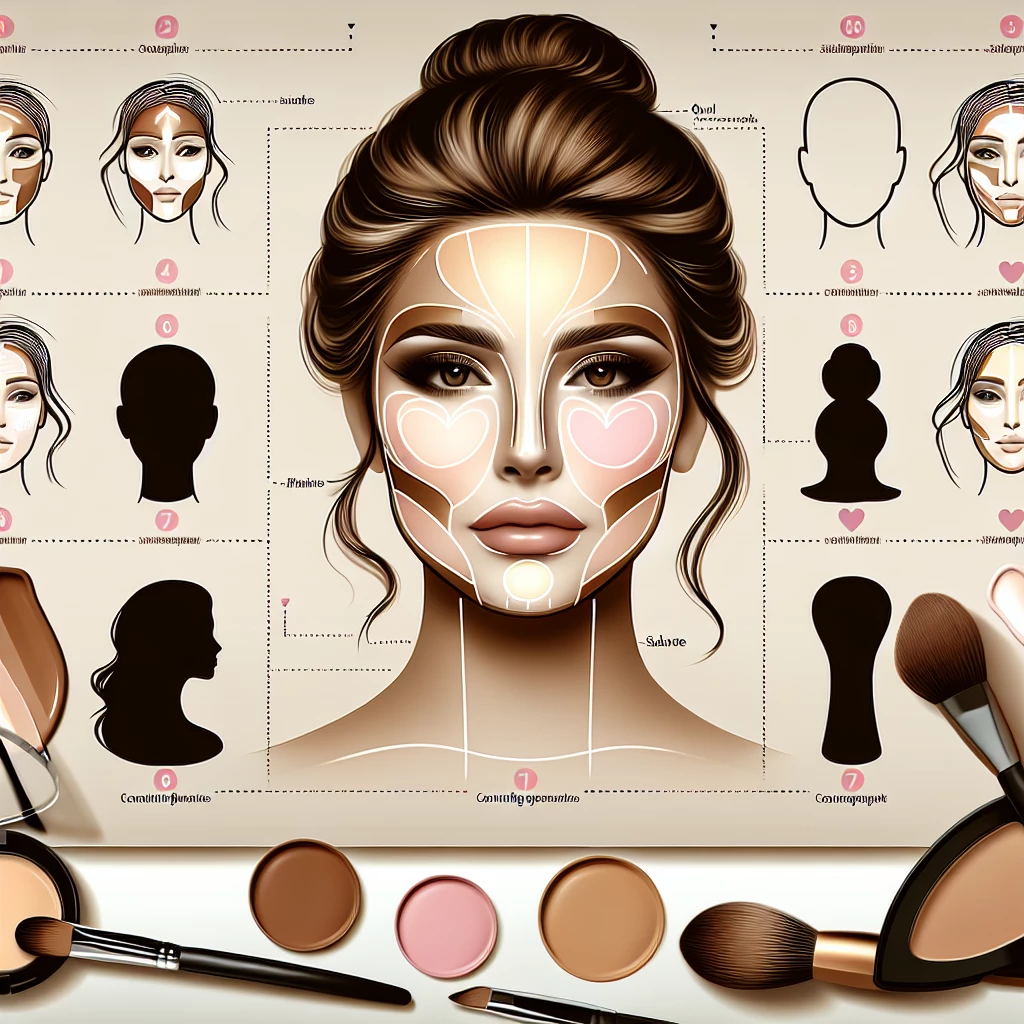
Before we embark on the journey to successful contouring, it's essential to understand your face shape. Be it oval, round, square or heart-shaped, every face has unique lines and dimensions that need to be highlighted and detailed appropriately with makeup.
Don't fret if you can't exactly figure out your face shape just yet; it's all about observing and understanding your facial features. Look at your face in the mirror and trace the outline gently with a lipstick for better visualization.
Remember, contouring is all about creating the illusion of shadow and light to enhance your natural features. Once you have understood your face shape better, it will become much easier to target areas for contouring and highlighting.
Choosing the Right products
To make sure your contouring looks as natural as possible, you need the appropriate products. These usually include a contour shade (a darker shade that creates illusion depth), a highlighter (lighter tone that illuminates and brings certain areas forward) and makeup brushes for application.
Make sure the contour shade is right for your skin tone. You don't want it to be too dark or light compared to your natural skin color. If you are a makeup newbie, cream contouring products can be easier to blend and manage.
As for the brushes, opt for ones specifically made for contouring. A smaller angled brush will allow you to create sharp, defined lines, while a fluffier, dome-shaped brush will help blend the contour out, eliminating any harsh lines.
Mastering the Technique
After choosing your weapons wisely, it's time to get to the fun part—actually contouring! Start with a fresh, clean slate. Make sure your face is clean and moisturized. Use your usual foundation as a base for your makeup.
With your contouring product, start by drawing lines on the areas of your face that you want to recede or appear slimmer. Typically, this includes the hollows of your cheeks, the sides of your nose, your jawline, and the temples of your forehead. Make sure to keep the application light; it's always easier to add more later!
Next, apply your highlighter to the areas of the face that naturally catch the light. This often includes the tops of your cheekbones, the bridge of your nose, the center of your forehead, and your cupid’s bow. The final step to mastering the contouring technique is blending. Blend, blend, and then blend some more. Remember, contouring should enhance not dominate the overall makeup look.
Common Mistakes and How to Avoid Them
Contouring, being a precise makeup technique, leaves a lot of room for errors. One common mistake is not blending enough, leaving you with sharp, apparent lines instead of a subtle definition. Being light-handed with your contour and taking the time to blend thoroughly with the right tools will help avoid this pitfall.
Another common mistake is using the wrong contour shade which doesn't match your skin tone. It's essential to test out products and pick a shade that matches your undertone and complements your skin color.
Lastly, not considering your face shape might end up in an unsatisfactory result. Remember, contouring technique isn't one size fits all. What works for a round face may not work for an oval face. So study your face shape and plan your makeup strategy accordingly.
Practice Makes Perfect
Mastering the contouring technique won't happen overnight. It's all about patience, practice, and a keen eye for detail. Embrace the process and don't be too hard on yourself.
Always observe your face after you've done contouring. Understand which places need more blending, where you should apply less product and so forth. With time, you'll find the method and techniques that fit you best.
Keep practicing and experimenting with different products. You'll soon discover that what once was an intimidating makeup technique has become a fun, transformative part of your beauty regimen.
And that's all you need to conquer contouring. Remember, makeup is an art, not a science. There's always room for creativity and personal touch. Use these beauty tips as a guide but tweak the rules to suit your style. Keep practicing, and soon enough, contouring will become second nature. Here's to a more sculpted and defined you. Until our next guide, stay gorgeous!

Transform with Translucent Powder
Learn how to use translucent powder to set your makeup and control oil for that flawless finish.

Organic Makeup: Is It Worth It?
Discover the pros and cons of organic makeup, and decide if it’s the right choice for you.

Battle of the Brands: Makeup Comparison
In-depth comparison of popular makeup brands to help you make the best choice for your skin.

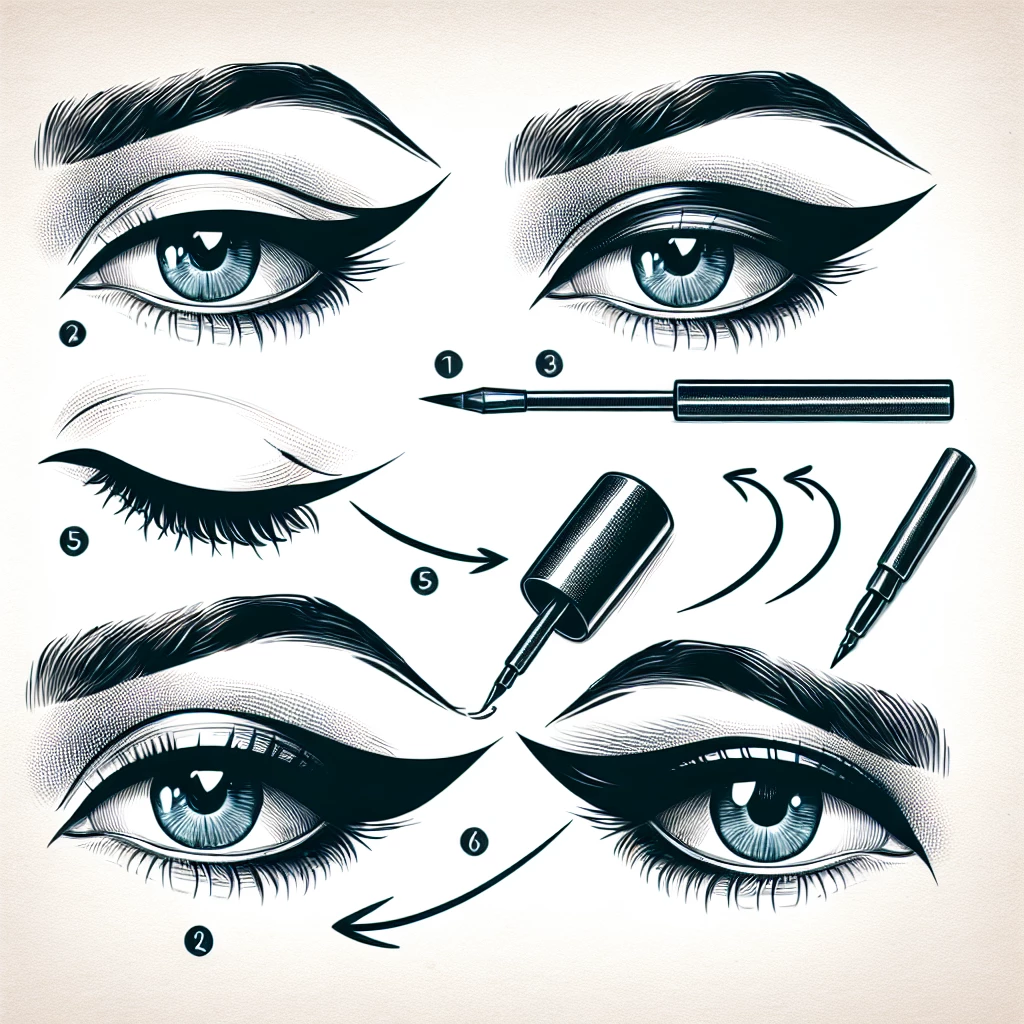
Creating a Classic Winged Eyeliner
Master the classic winged eyeliner look with our step-by-step guide.
