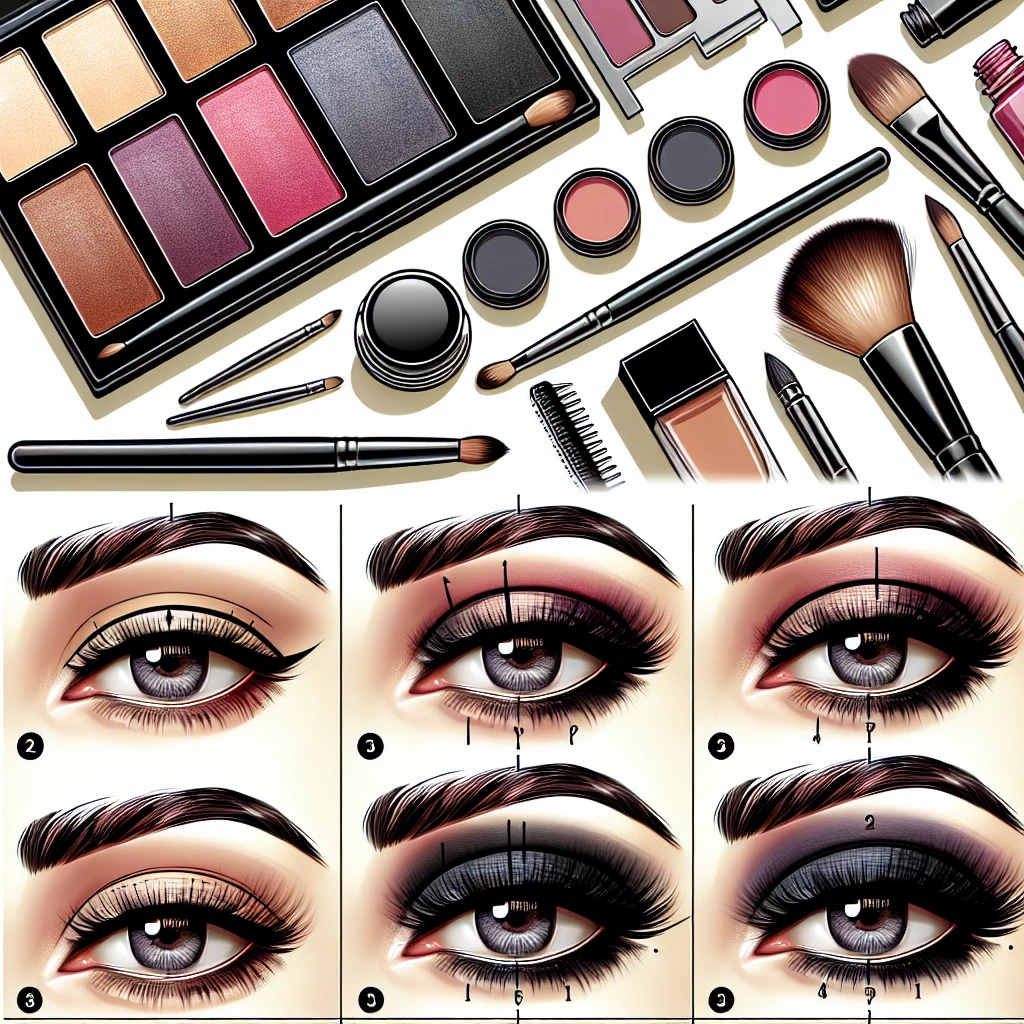
Welcome back to Makeup Queens! Today, we're going to dive into a stunning makeup style that is timeless yet incredibly straightforward to achieve - the smoky eye. This effortless smoky eye tutorial is perfect for novices and seasoned makeup lovers alike. We'll guide you step-by-step, ensuring you end up with a sultry, expertly blended look. All you need is your favorite eyeshadow palette and a bit of patience.
Choosing Your Palette
The first step to achieving an effortless smoky eye is selecting your palette. While the traditional smoky eye is often done in blacks and grays, you can experiment with different colors that suit your style and skin tone. Don't be afraid to step out of your comfort zone.
A good tip when selecting your palette is to choose colors that contrast with your eye color. This will help your eyes to really pop. For example, bronze tones look fantastic on blue eyes, while purples can make green eyes look mesmerizing.
When choosing your palette, it's important to have a good selection of both matte and shimmer shadows. The combination of textures will make your smoky eye look more professional and dynamic.
Priming Your Eyes
Before applying any eyeshadow, you need to prime your eyes. This step is essential to ensure your smoky eye stays put for a long time and the colors pop more vibrantly on your lids.
You can use a specific eye primer, or a dab of your regular concealer can also work wonders. Once you’ve applied the primer, blend it evenly on your eyelid and just above your crease. Be sure to apply it under your eyes if you plan to add shadow there too.
Let your primer dry for a few minutes before moving on to the next step. This will prevent any creasing and will make your eyeshadow easier to blend.
Creating the Smoky Effect
Now to the fun part - creating the smoky effect! Start with a medium shade from your palette and sweep it over your entire lid, up to your crease. This is your base color, and it should be the lightest shade you plan to use.
Next, take a darker shade and apply it in the outer corners of your eyes and your crease. Blend it well, making sure there are no harsh lines between the two colors. Remember, a smoky eye is all about blending!
Finally, use the darkest color in your palette to define your eyes. Apply it to the outer corners of your eyes, blending it inward. You can use a small brush to smudge some of the darkest shade under your lower lash line for an added smoky effect.
Finishing Touches
After you've perfected the smoky effect, it's time for the finishing touches. Application of eyeliner is optional especially when working with darker shades. But if opted for, apply a thin line along the top lash line and a little on your waterline for a sultry look.
Curling your lashes and adding a generous coat of volumizing mascara is a must to complete the look. False lashes can also be added for an extra dramatic effect.
Remember to run a clean brush or a little bit of loose powder under your eyes to clean up any fallout. This will give your smoky eye a clean, sharp edge.
Complementing Your Smoky Eye
When it comes to the rest of your makeup, let your smoky eyes be the star of the show. Opt for a more subdued lipstick color to contrast with your dramatic eyes.
Lastly, a bit of blush and some highlighter on the high points of your face can give you a glowy finish. Just remember, the key to a successful smoky eye is balance. Allow your eyes to make the statement.
And there you have it, a foolproof guide to creating an irresistible smoky eye. With a bit of practice, you'll be a pro before you know it.
Achieving the perfect smoky eye doesn't have to be intimidating. Following these simple steps and tips, you can create a versatile look that can take you from day to night effortlessly. Remember, makeup is all about expressing yourself and having fun. So, the next time you step in front of the mirror, don’t be afraid to experiment. Happy blending, our wonderful Makeup Queens!

Transform with Translucent Powder
Learn how to use translucent powder to set your makeup and control oil for that flawless finish.

Organic Makeup: Is It Worth It?
Discover the pros and cons of organic makeup, and decide if it’s the right choice for you.

Battle of the Brands: Makeup Comparison
In-depth comparison of popular makeup brands to help you make the best choice for your skin.

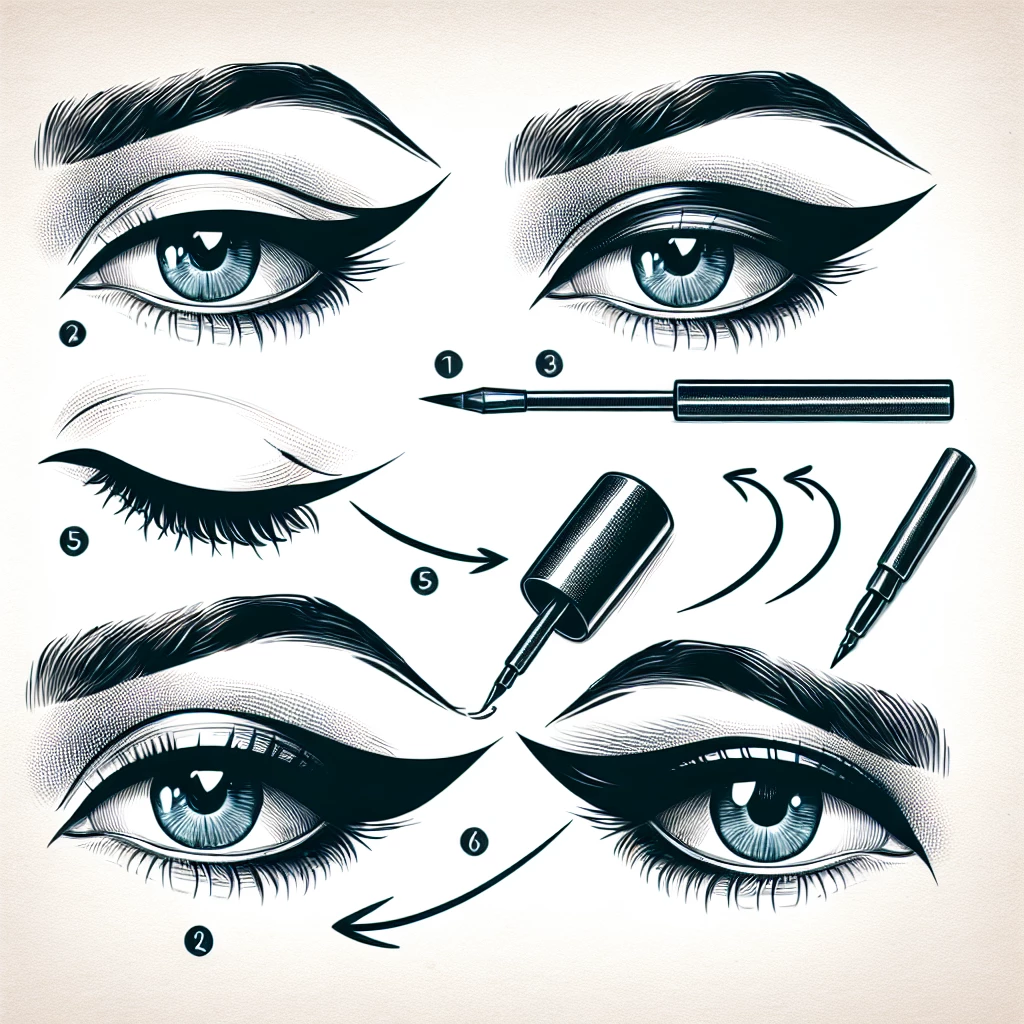
Creating a Classic Winged Eyeliner
Master the classic winged eyeliner look with our step-by-step guide.
