Contouring can seem like a lofty aim for many makeup enthusiasts. It's a technique often seen in celebrity makeup routines, promising to define and shape the face through cleverly applied cosmetics. Yet, it can feel intimidating and complex for beginners. This blog post aims to demystify this beauty secret, breaking it down into easy, manageable steps. Join us as we guide you through mastering the art of contouring.
Understanding the Basics of Contouring
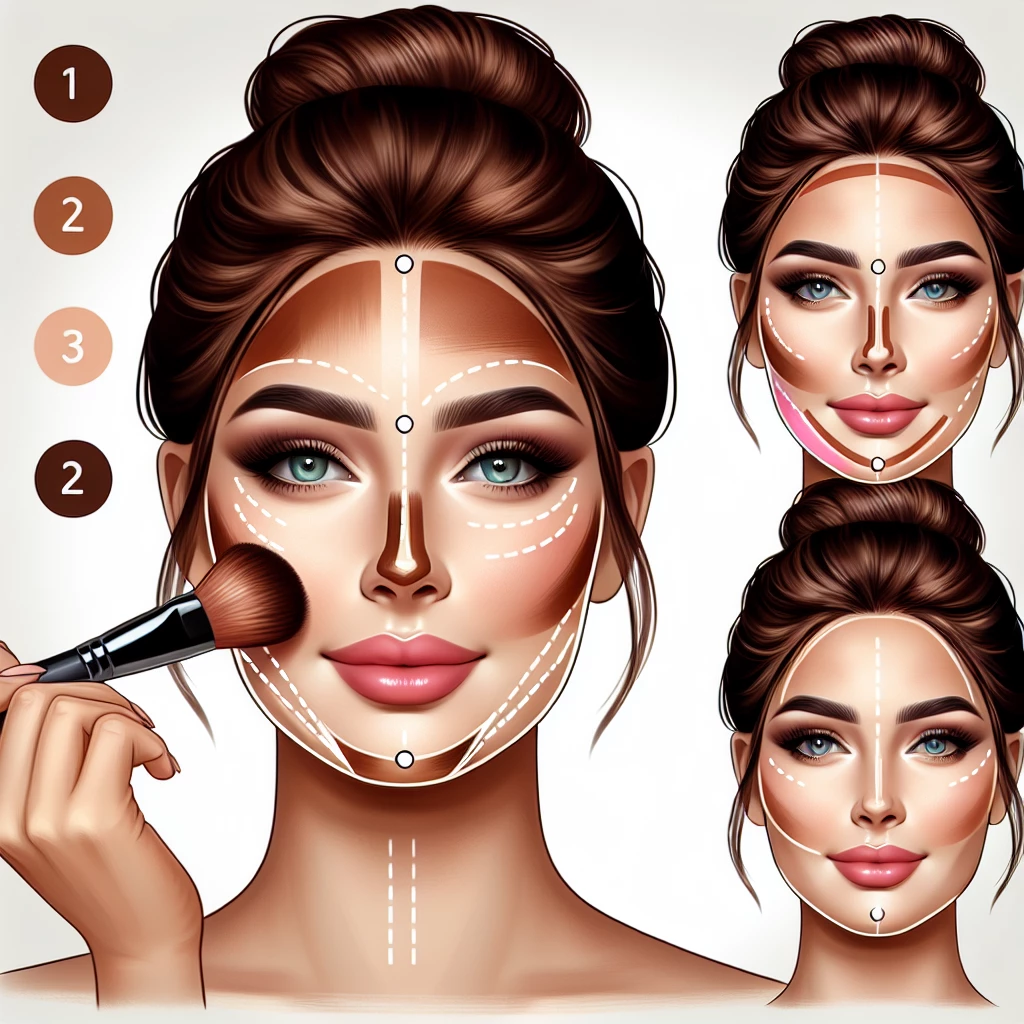
Contouring is a technique that involves using a matte powder or cream that's two shades darker than your natural skin tone to enhance your facial structure. Essentially, it aims to create shadows to highlight certain aspects of your face, making features like your cheekbones, jawline, or nose stand out. The key is to use the product strategically and blending it well so the shadows look natural.
Before embarking on your contouring journey, you will need to understand your face shape. Different face shapes require different contouring techniques to emphasise the best features. For example, someone with a round face would focus on contouring the sides of their forehead and along their temples to create a more defined shape. Knowing your face shape will help you decide where to place your contour.
Choosing the right products for contouring is essential. Select a contouring powder, cream, or stick that is two shades darker than your skin tone. The formula selection depends on your personal preference and skin type. Cream-based contouring products work well for dry skin, while matte powders are better for those with oily skin. Remember, the goal is to create a natural-looking shadow, thus avoid anything too dark or with shimmer.
Step-by-Step Guide to Contouring
Start with a clean, primed face. Apply your foundation as you normally would. The foundation serves as a canvas for your contour to adhere to.
Next, start contouring by identifying the areas you want to define. Generally, these are the hollows of your cheeks, the sides of your nose, your temples, your jawline, and the edges of your forehead. Apply your chosen contouring product to these areas.
Blending is where the magic happens. Using a damp makeup sponge or a contouring brush, blend the product into your skin. Make sure there are no harsh lines. Your contour should gradually blend into your foundation for a natural appearance. Invest time in this step to achieve a flawless look.
Final Touches to Your Contour
After you have blended your contour well, you might want to add some extra dimensions to your face. This is where highlighting comes in. Apply a highlighter to the high points of your face - the tops of your cheekbones, the bridge of your nose, under your eyebrow arch, your cupid's bow, and the centre of your forehead.
Setting your makeup is the final step in your contouring process. Use a setting powder to set your makeup, and a setting spray to ensure your makeup stays put all day. Remember, practice makes perfect. Don’t get disheartened if you don’t get it right the first time. With time, you’ll get better at it and it will become a fast and easy part of your makeup routine.
Lastly, remember that makeup is a form of self-expression. Don’t let any 'rules' hold you back. Experiment with different techniques and products to know what works best for you. After all, you're the artist of your own beauty.
Mastering the art of contouring can take your makeup game to the next level. It's not just a trick used by celebs on the red carpet, but a skill that you can incorporate into your everyday beauty routine. Like any makeup technique, it requires practice, patience, and an understanding of your own facial features. So pick up your brush and start sculpting. In the world of makeup, you're the artist, and your face is the canvas.

Transform with Translucent Powder
Learn how to use translucent powder to set your makeup and control oil for that flawless finish.

Organic Makeup: Is It Worth It?
Discover the pros and cons of organic makeup, and decide if it’s the right choice for you.

Battle of the Brands: Makeup Comparison
In-depth comparison of popular makeup brands to help you make the best choice for your skin.

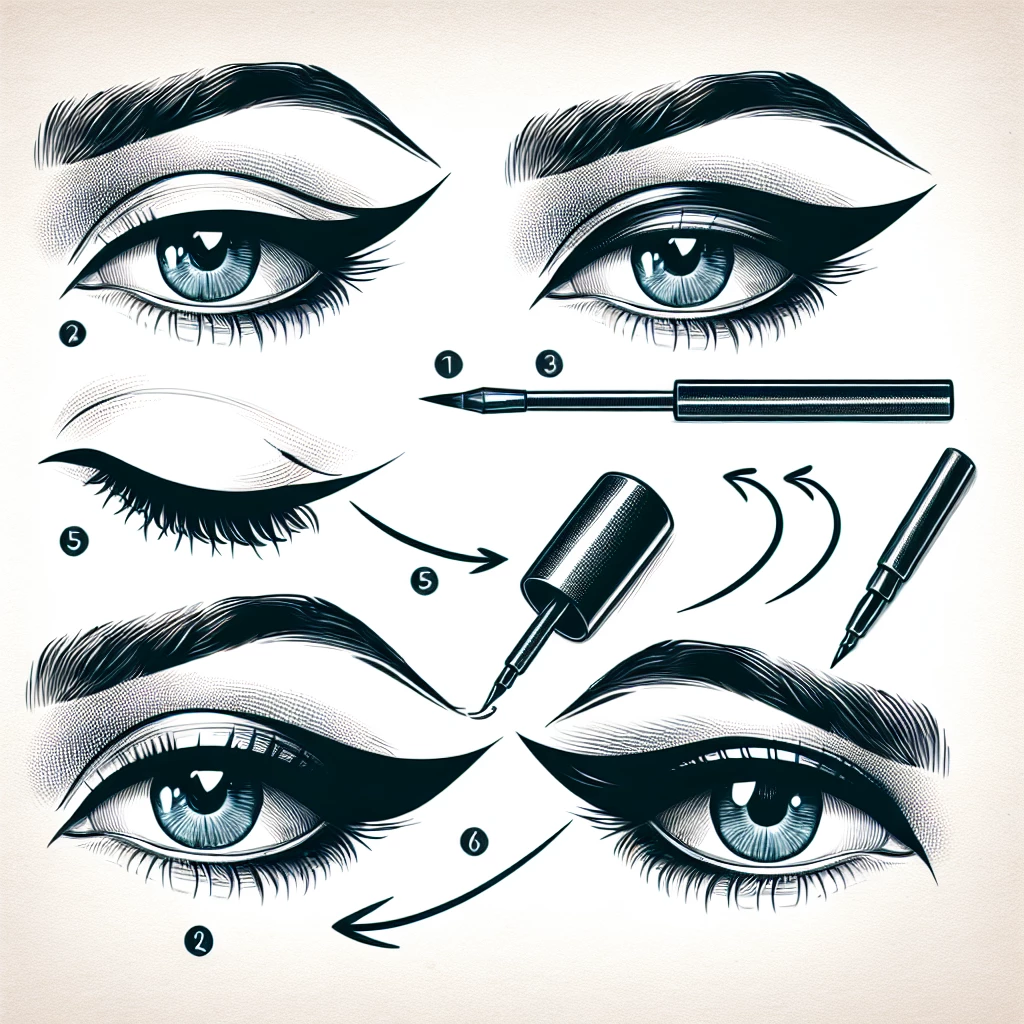
Creating a Classic Winged Eyeliner
Master the classic winged eyeliner look with our step-by-step guide.
