Welcome to this tutorial on mastering the art of smoky eyes. Smoky eyes are a classic, sultry look that can be tailored to any face shape or eye color. They are perfect for a night out or any occasion where you want to look your best. This guide will walk you through every step of the process, from choosing the right eyeshadow palette to applying the final touches. Whether you're a makeup novice or an experienced artist, there's something here for you.
Selecting Your Eyeshadow Palette
Choosing the right eyeshadow palette is critical for a successful smoky eye. You'll need at least three shades: a light highlight color, a medium transition color, and a dark color for depth. Many makeup brands offer pre-assembled smoky eye palettes, making it easy to find these shades together.
While traditional smoky eyes feature shades of black and gray, you can also experiment with colors like brown, plum, or navy. Ultimately, the best palette for you depends on your skin tone, eye color, and personal style.
If you're unsure where to start, try a neutral palette with shades of brown. These colors are universally flattering and versatile, making them perfect for beginners.
Preparing Your Eyes
Before you start applying eyeshadow, it's important to prepare your eyes. This helps your makeup last longer and prevents it from creasing or smudging.
Start by applying a primer to your eyelids. This will create a smooth base for your eyeshadow and help it adhere to your skin. If you don't have a primer, a small amount of concealer or foundation can work as a substitute.
Next, apply a light layer of translucent powder over your primer. This will absorb any excess oils and prevent your eyeshadow from creasing. It also creates a smooth, blank canvas for your eyeshadow, helping the colors look more vibrant.
Applying the Eyeshadow
Now that your eyes are prepared, it's time to apply the eyeshadow. Start by applying the medium color all over your eyelid as a base. This shade is commonly referred to as your 'transition' color because it helps blend the lighter and darker shades together.
Next, apply your dark shade to the outer corner of your eye and blend it into your crease. This is what creates the 'smoky' effect. Be sure to blend well to avoid any harsh lines.
Finally, apply your lightest color to the inner corner of your eye and your brow bone as a highlight. This will help open up your eyes and make them pop.
Finishing Touches
Once your eyeshadow is applied, it's time to add the finishing touches. Apply eyeliner to your upper and lower lash lines, and smudge it slightly for a softer look.
Next, apply mascara to your lashes. This will help them stand out against the dark eyeshadow.
Finally, clean up any fallout with a makeup wipe and apply your favorite face makeup to complete your look.
Creating smoky eyes may seem challenging at first, but with the right tools and techniques, anyone can master it. Just remember to choose your eyeshadow carefully, prepare your eyes properly, blend well, and add your finishing touches. With practice, you'll be rocking smoky eyes like a pro in no time. Keep using these tips until they become second nature, and remember that the most important thing is to have fun and feel confident in your look.

Transform with Translucent Powder
Learn how to use translucent powder to set your makeup and control oil for that flawless finish.

Organic Makeup: Is It Worth It?
Discover the pros and cons of organic makeup, and decide if it’s the right choice for you.

Battle of the Brands: Makeup Comparison
In-depth comparison of popular makeup brands to help you make the best choice for your skin.

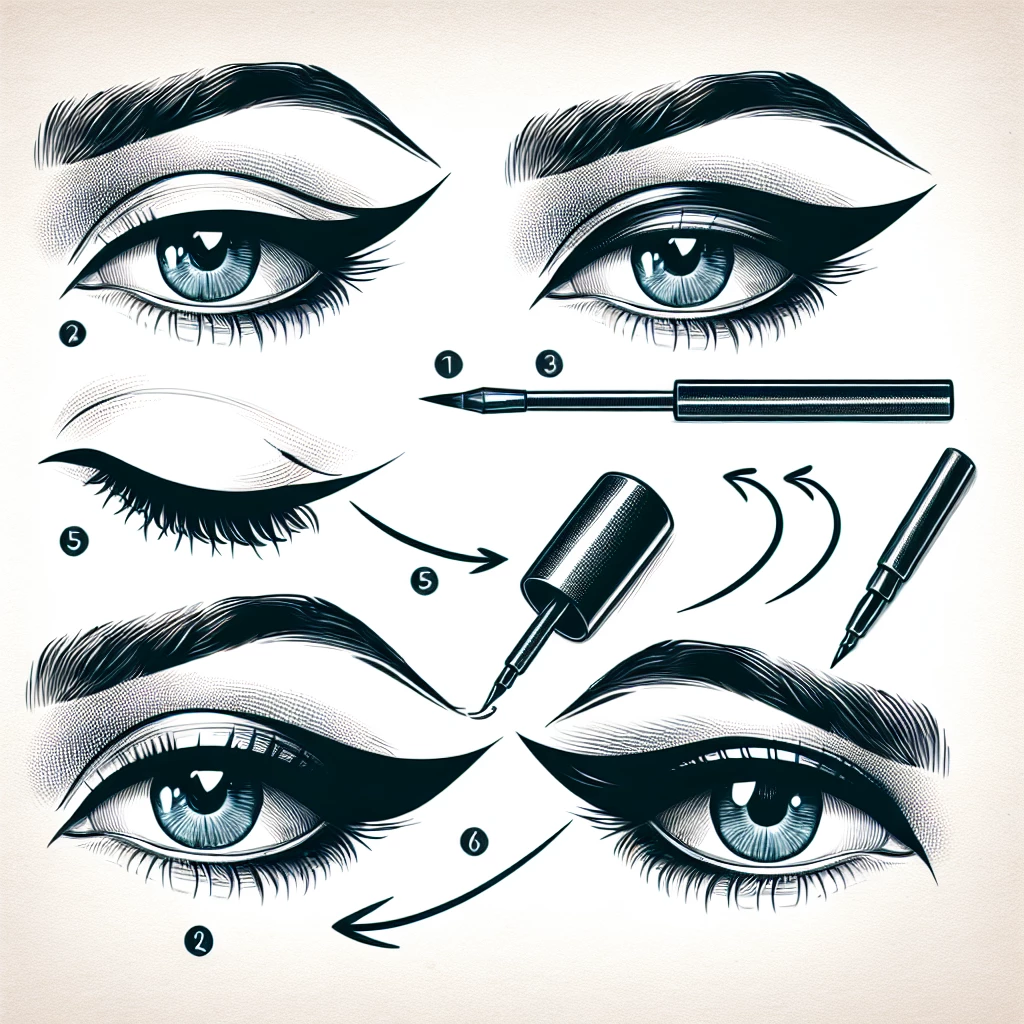
Creating a Classic Winged Eyeliner
Master the classic winged eyeliner look with our step-by-step guide.
