Unlock the secret to a perfectly defined and sculpted face with the art of contouring. This transformative makeup technique that's booming in the beauty world is all about enhancing your natural features through creating shadows and highlights. Here at Makeup Queens, we are excited to guide you step-by-step in mastering contour effectively by sharing some essential beauty techniques. In this makeup tutorial, prepare to navigate the world of contouring and discover how it dramatically shifts the way your face structure appears.
Understanding the Basics of Contouring
So, what exactly is contouring? Put simply, it's a makeup technique that involves using a mix of different shades to define and reshape your facial features. This process helps sculpt the face by receding certain areas and highlighting others to create a more structured appearance.
Contouring may seem intimidating, but with practice, anyone can master this beauty routine. The key lies in identifying your face shape and knowing which areas you want to accentuate and which you wish to recede.
To contour correctly, you'll need the right products and tools. An ideal contouring kit includes a dark contour shade to create shadows, a light highlighting shade to emphasize features, and a blending brush to amalgamate the different colors seamlessly.
Detailed Step-by-step Contouring
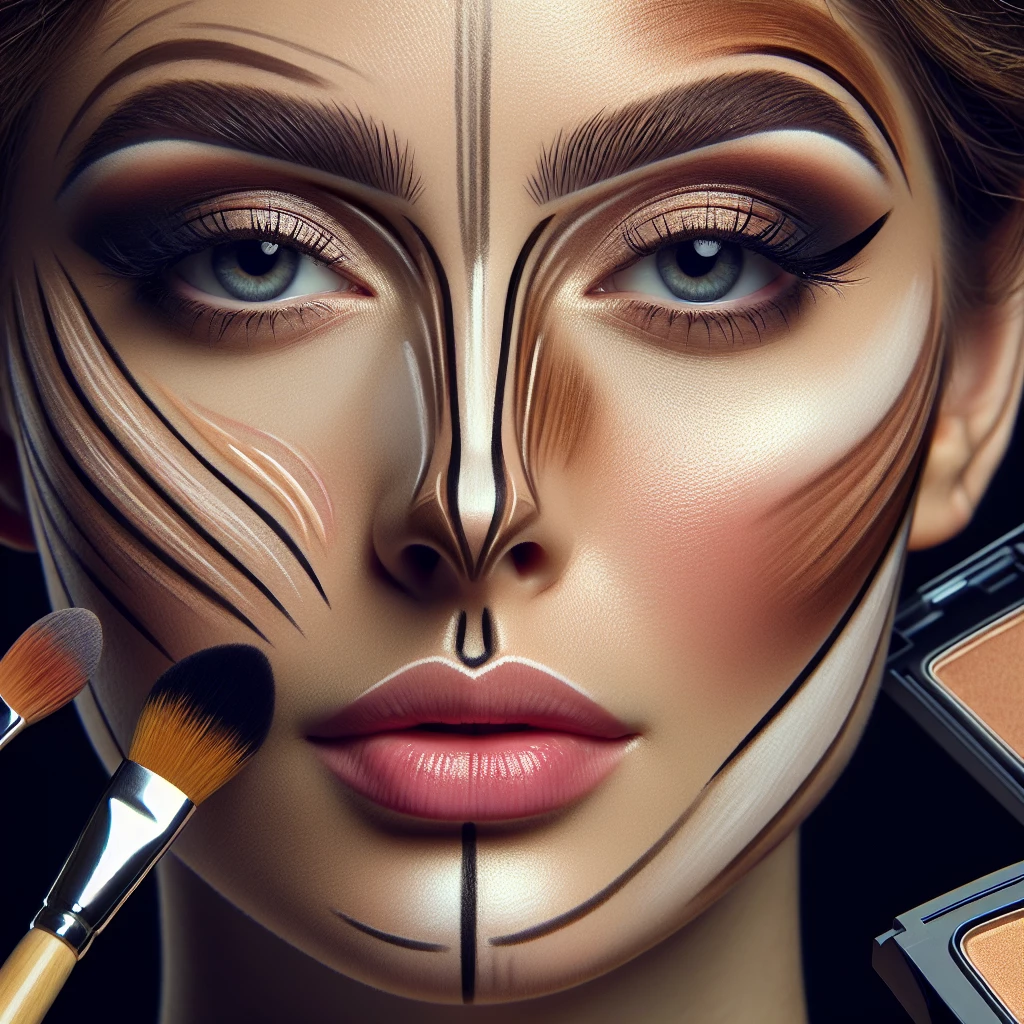
Begin by applying foundation as this acts as your canvas. The first step in contouring involves mapping out your face with the darker shade. Key areas to target include the hollows of your cheeks, the sides of your nose, and your hairline.
Once you've mapped out your face with the dark shade, it's time to highlight. Apply the lighter color underneath your eyes, in the middle of your forehead, down the center of your nose, and on your chin. This creates a contrast, brings features forward, and makes them pop.
Blend, blend, and blend some more. Blending is crucial in achieving a natural-looking contour. The aim is to avoid any harsh lines by combining the highlighter and contour shades seamlessly.
Different Techniques for Different Face Shapes
It's important to remember that everyone's face is unique, and contouring isn't a one size fits all technique. Depending on your face shape, you might have to alter your contouring method to best accentuate your features.
For example, if you have a round face, focus on contouring the sides of your forehead and along your temples to create a more elongated appearance. If you have a square face, soften your strong jawline by contouring along the jaw and reduce the broadness of the forehead by contouring the corners.
The process seems complicated, but with practice, you'll get the hang of it. Remember, contouring is not about changing your natural face shape, but enhancing it.
Quick Tips and Common Mistakes to Avoid
While contouring can make a drastic difference, it's important to keep it subtle. One common mistake is using too much product, leading to a cakey look. Remember, it's easier to add than to subtract.
Another challenge is getting the contour color right. Find a shade that's two shades darker than your skin tone. A shade that's too dark can make your contour look muddy, while too light a shade won't create enough shadow.
Finally, don't forget to blend! Blending is the most important step in contouring. Whether you're using a brush or a sponge, make sure your contour and highlight seamlessly transition into each other.
Mastering the technique of contouring allows you to put your best face forward. It's a game-changer in the world of makeup, enabling you to enhance your best features and deemphasize others. While it might seem complex initially, it's worth the patience. So sharpen those blending brushes, gather your contour palette, and unveil the magic right at your fingertips. And remember, the aim is not to change your face, but to embrace and enhance it.

Transform with Translucent Powder
Learn how to use translucent powder to set your makeup and control oil for that flawless finish.

Organic Makeup: Is It Worth It?
Discover the pros and cons of organic makeup, and decide if it’s the right choice for you.

Battle of the Brands: Makeup Comparison
In-depth comparison of popular makeup brands to help you make the best choice for your skin.

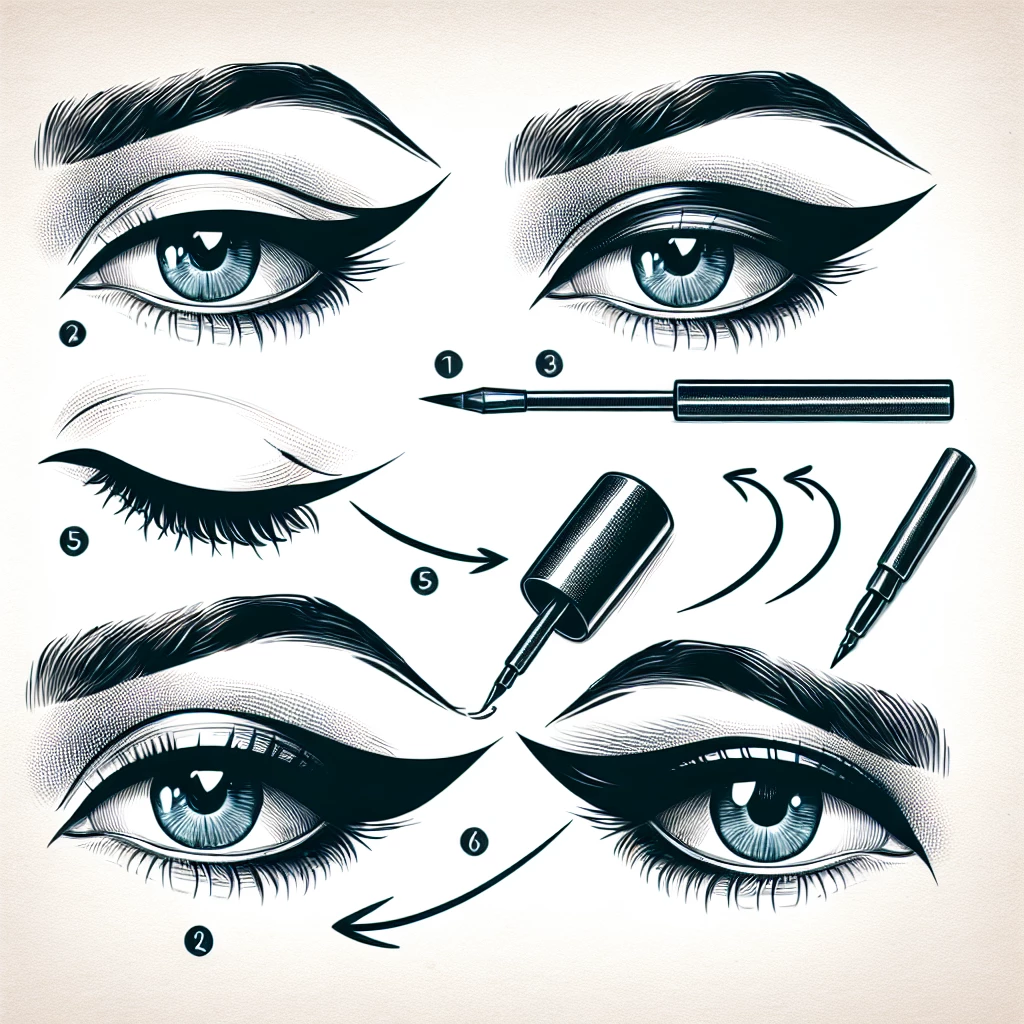
Creating a Classic Winged Eyeliner
Master the classic winged eyeliner look with our step-by-step guide.
