Welcome to Makeup Queens. Today, we are going to conquer a makeup classic: the cat eye flick. This eye-popping look has become a staple in makeup tutorials, but achieving the perfect cat eye can be tricky, especially if you're not an eyeliner pro. No worries! This beginners guide, filled to the brim with makeup tips, will help you slay the cat eye flick. So let's dive in and empower your inner queen.
Understanding the Basics of Cat Eye
Before we jump into the technique, it’s essential to understand the structure of a classic cat eye. It consists of a thin line starting from the inner corner of your eye following your lash line, and a ‘flick’ that extends the line upwards beyond your natural lash line. This tradition of eye makeup goes back to ancient times and has gained popularity due to its ability to elongate and lift the eyes, creating a dramatic yet classy look.
To master this look, you need primarily an eyeliner and a steady hand. Eyeliners come in different forms: pencil, gel, and liquid. The choice depends on your comfort and the look you want. Pencil eyeliners are softer and easier for beginners, while liquid eyeliners provide a sleek and sharp line.
Understanding the angle of the ‘flick’ is crucial as it can change the entire look. An upward flick creates an everyday, more natural look, while a straight-out flick gives your eyes a classic Hollywood glamour. The best tip for creating the perfect flick angle is following the natural curve of your lower lash line.
Step by Step Tutorial of a Cat Eye Flick
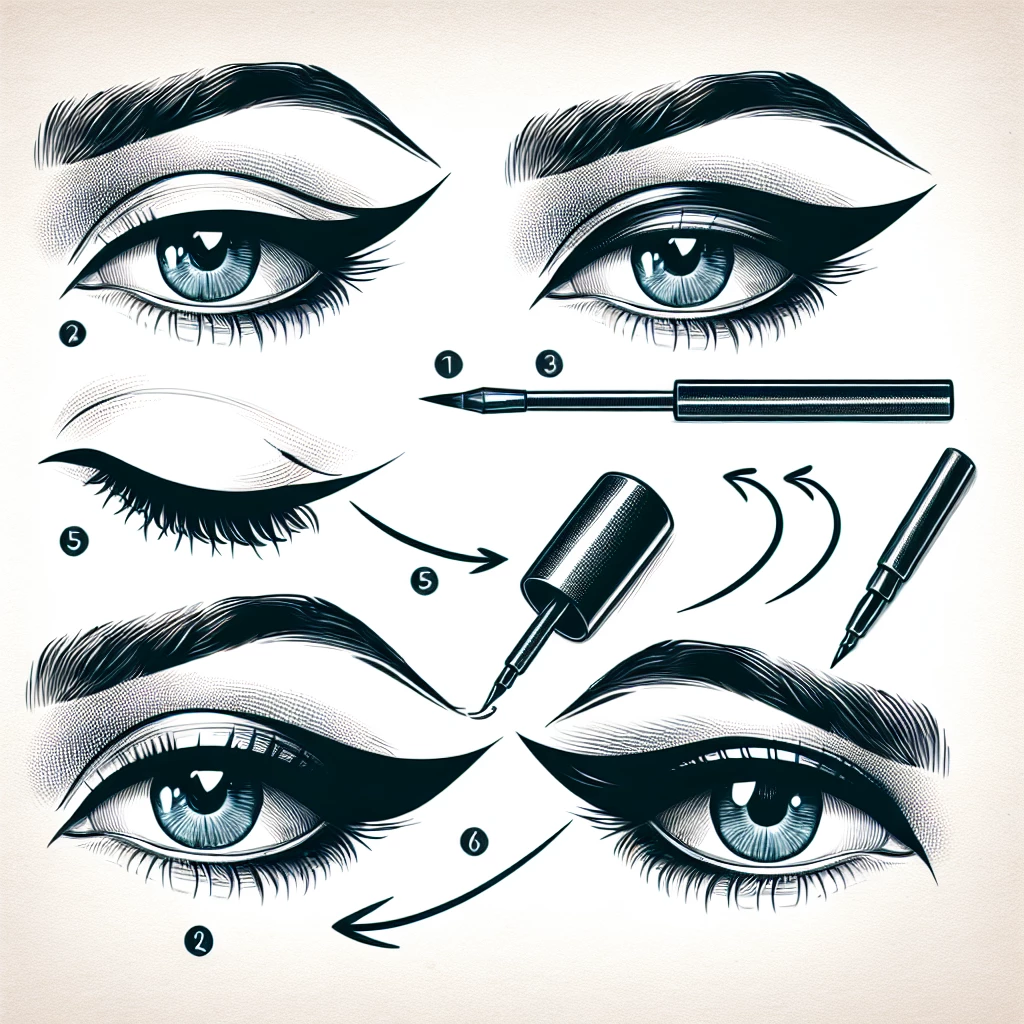
Step one: use a light pencil to sketch an outline. Start with the flick from the outer corner of your eye, then draw a line from the flick back to your upper lash line creating a small triangle. This will serve as a guide for your cat eye and can be easily corrected.
Step two: choose your preferred eyeliner and carefully trace over the sketch. An excellent tip for beginners is to use small strokes from the inner corner of your eye, following your upper lash line to the outer corner. Take it slow until you reach the end of the line.
Step three: Fill in the triangle and fine-tune your cat eye. You can make your line thicker depending on the desired level of drama. Remember to let it dry for a few seconds and clean up any smudges for a perfect finish.
Mistakes to Avoid and Solutions
Common problems that occur when attempting a cat eye include asymmetrical eyes, overly thick lines, and smudging. Beginners often struggle to make the eyes look similar and tend to overcorrect, which results in thick, sloppy eyeliner.
To avoid these issues, practice, and patience are vital. Familiarize yourself with your eye shape and adjust according to what suits you best. Remember to control the pressure you apply when drawing the lines and clean up any smudges as soon as you finish.
To correct asymmetrical lines, a simple trick is to use a cotton swab dipped in makeup remover to straighten out the edges. Difficulties in creating symmetrical flicks is a common complaint, a fix to this is practicing on a piece of paper before you start with your eye.
Mastering the cat eye flick takes practice but with these makeup tips and detailed tutorials, even beginners can achieve this chic look. Remember, the key is understanding your eye shape and figuring out what works best for you. So have fun experimenting and remember nothing beats a confident queen with her eyeliner on point. Let's conquer the world, one cat eye flick at a time!

Transform with Translucent Powder
Learn how to use translucent powder to set your makeup and control oil for that flawless finish.

Organic Makeup: Is It Worth It?
Discover the pros and cons of organic makeup, and decide if it’s the right choice for you.

Battle of the Brands: Makeup Comparison
In-depth comparison of popular makeup brands to help you make the best choice for your skin.

Creating a Classic Winged Eyeliner
Master the classic winged eyeliner look with our step-by-step guide.
