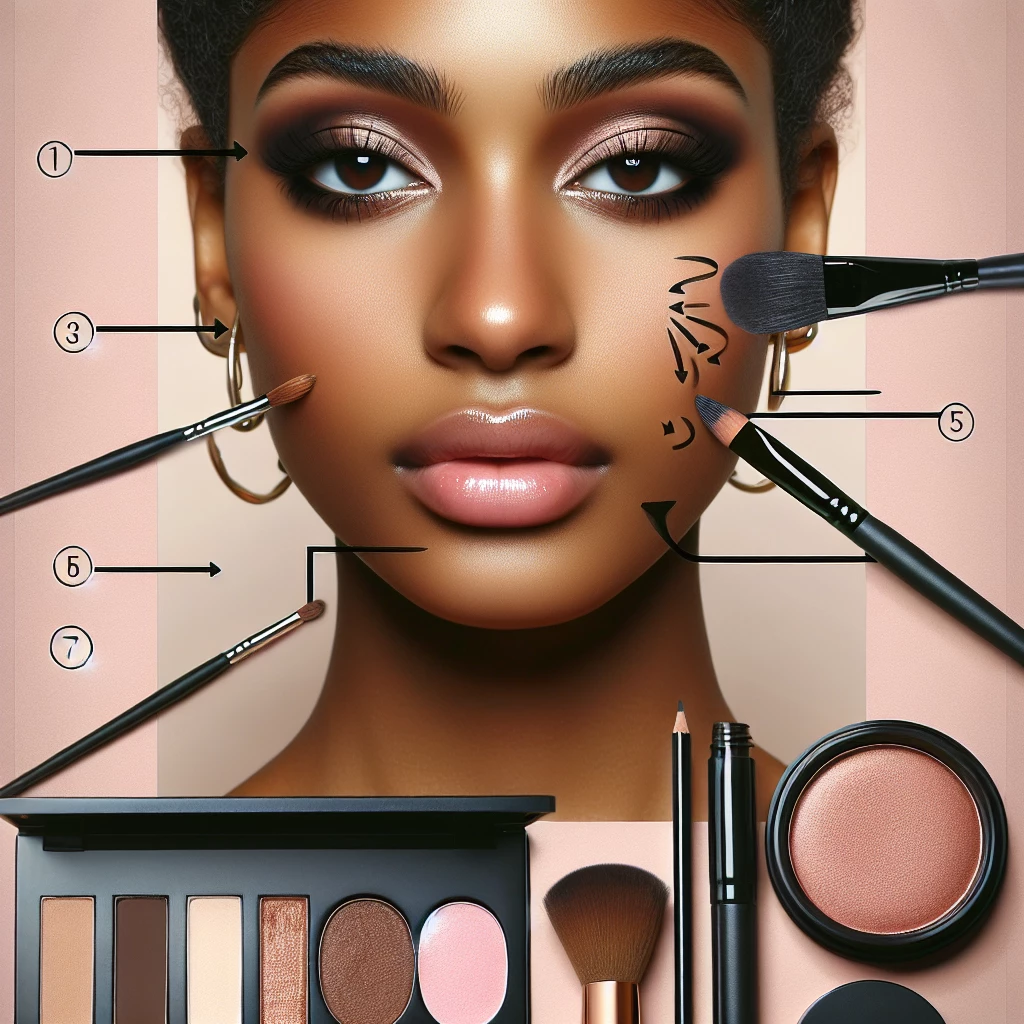
Welcome to another post on Makeup Queens, where we dive into the world of colors and brushes with a passion for beauty. Today, we will unravel the mystery of one of the most classic and bold eye makeup looks – the smoky eye. Perfect for evening events, galas, or even a night out with friends, mastering the smoky eye technique can add an edge to your overall look. So, if you've ever wondered how to achieve those lush and dark eyes from magazine covers, stay tuned. We will guide you step by step through the journey of perfecting the smoky eye look.
Understanding the Basics
Before jumping into the smoky eye trend, it's essential to understand what it stands for. The smoky eye is a makeup technique in which eyeshadow and eyeliner are blended outwards in a way that mimics the look of smoke gradually fading into the air. This creates a dramatic, intense look that highlights and enhances the eyes.
While traditionally smoky eye makeup is associated with black or gray tones, you can also experiment with different colors. Browns, purples, blues, and even greens can make a statement when used correctly. The key focus here is the blending technique.
The smoky eye is a versatile technique, designed to make your eyes pop. Its gradation from dark to light colors elongates your eyes, giving them a deeper set look. The technique is equally stunning on every eye shape and color, making it a global go-to for high-impact makeup.
Prepping Your Eyes
Before starting with your smoky eye look, it’s essential to prep your eyes. Start by applying an eyeshadow primer. It helps create a smooth canvas for your eyeshadow and protects your makeup from creasing and smudging throughout the day.
Once you’ve applied the primer, follow by setting it with a neutral or translucent powder. This makes the application of the other eyeshadows smoother and enhances their longevity.
The final step in this preparation stage is to define your eyebrows. Nicely shaped and defined eyebrows frame your face, and accordingly your eyes, making them stand out even more.
Build the Base and Transition Canvases
After your eyes are prepped, it’s time to start adding color. Start with applying a mid-tone shade as the base on your lids. It can be any color you prefer but generally, it should be a few shades darker than your natural skin tone.
Next, you will blend this base color into a transition shade, applied just above your eyelids into the crease. This color typically shouldn't be too dark, it helps blend the base with the upcoming dark shades into a seamless gradient.
Remember, blending is key in a smoky eye look. The softer the gradients between the colors, the more professional and natural the look will appear. Take your time and blend, blend, blend.
Adding Depth and Definition
Once your base and transition are blended, it’s time to create depth. Stoutly apply a darker shade of your choice on your lids and blend it into your base and transition colors. Use a smaller brush for more precision. This will create a sultry gradient effect.
To further enhance the depth and definition, use a black or dark brown eyeliner to line your upper and lower lash lines. Remember to blend this outwards on your lower lash line to give a smoky effect.
Finish the look by applying a lighter shimmery eyeshadow at the inner corners of your eyes and below your brow bone. This will add dimension and make your eyes pop even more.
Final Touch With Mascara
Finally, the time to tie your look together with mascara comes. Apply a generous amount of mascara or put on fake eyelashes for a fuller effect. Whichever your preference, this is the finishing touch to your smoky eye look.
For a more intense look, you can add another layer of a very dark eyeshadow on your lash lines. Just like before, blend it outwards for the smoky effect.
Remember, the smoky eye is a bold look. So, keep the rest of your makeup minimalist. This will draw attention directly to your dazzling eyes.
And there you have it, a step-by-step guide to mastering the smoky eye. Perfecting any makeup technique takes time and practice, so don't fret if your smoky eye doesn't look flawless on the first attempt. The key is perseverance and creativity. So, let your inner artist have fun with it. After all, makeup is all about expressing yourself and feeling confident. Until our next post, keep shining, Queens!

Transform with Translucent Powder
Learn how to use translucent powder to set your makeup and control oil for that flawless finish.

Organic Makeup: Is It Worth It?
Discover the pros and cons of organic makeup, and decide if it’s the right choice for you.

Battle of the Brands: Makeup Comparison
In-depth comparison of popular makeup brands to help you make the best choice for your skin.

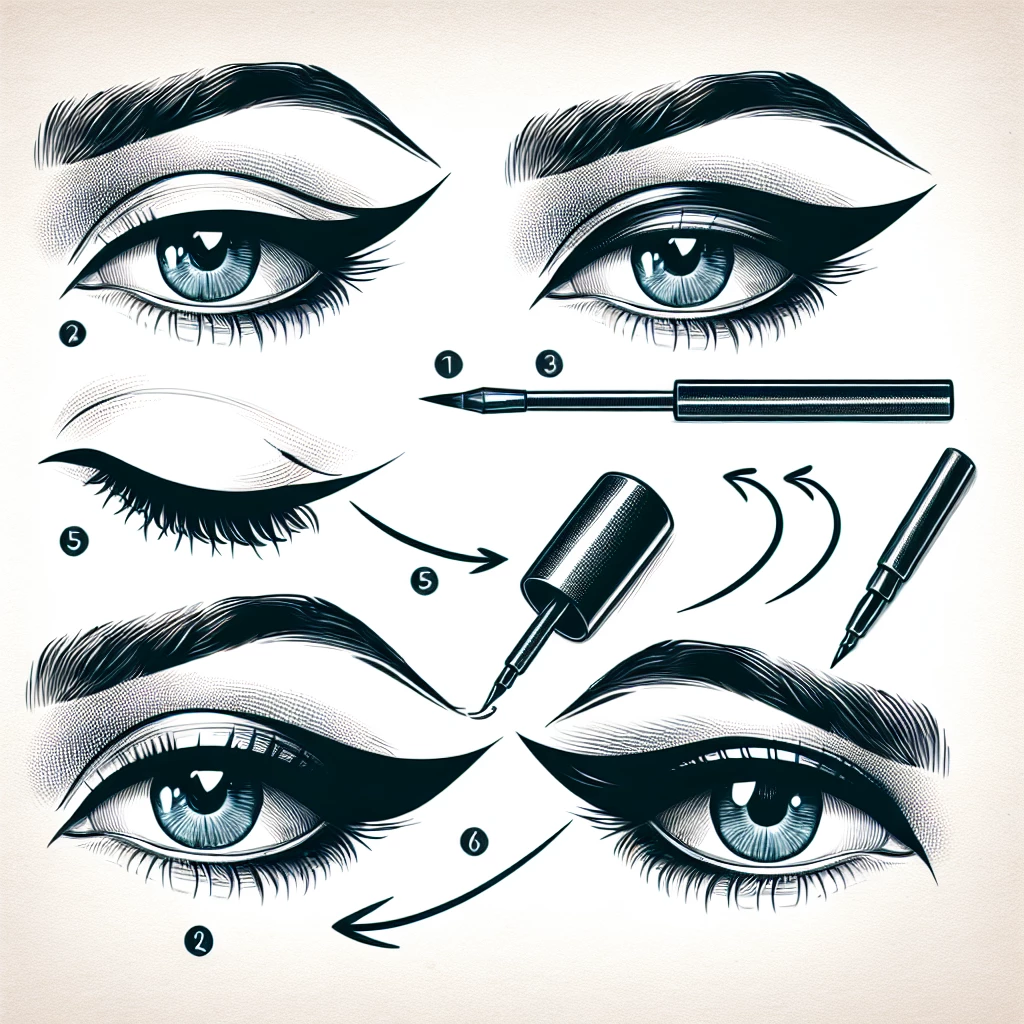
Creating a Classic Winged Eyeliner
Master the classic winged eyeliner look with our step-by-step guide.
