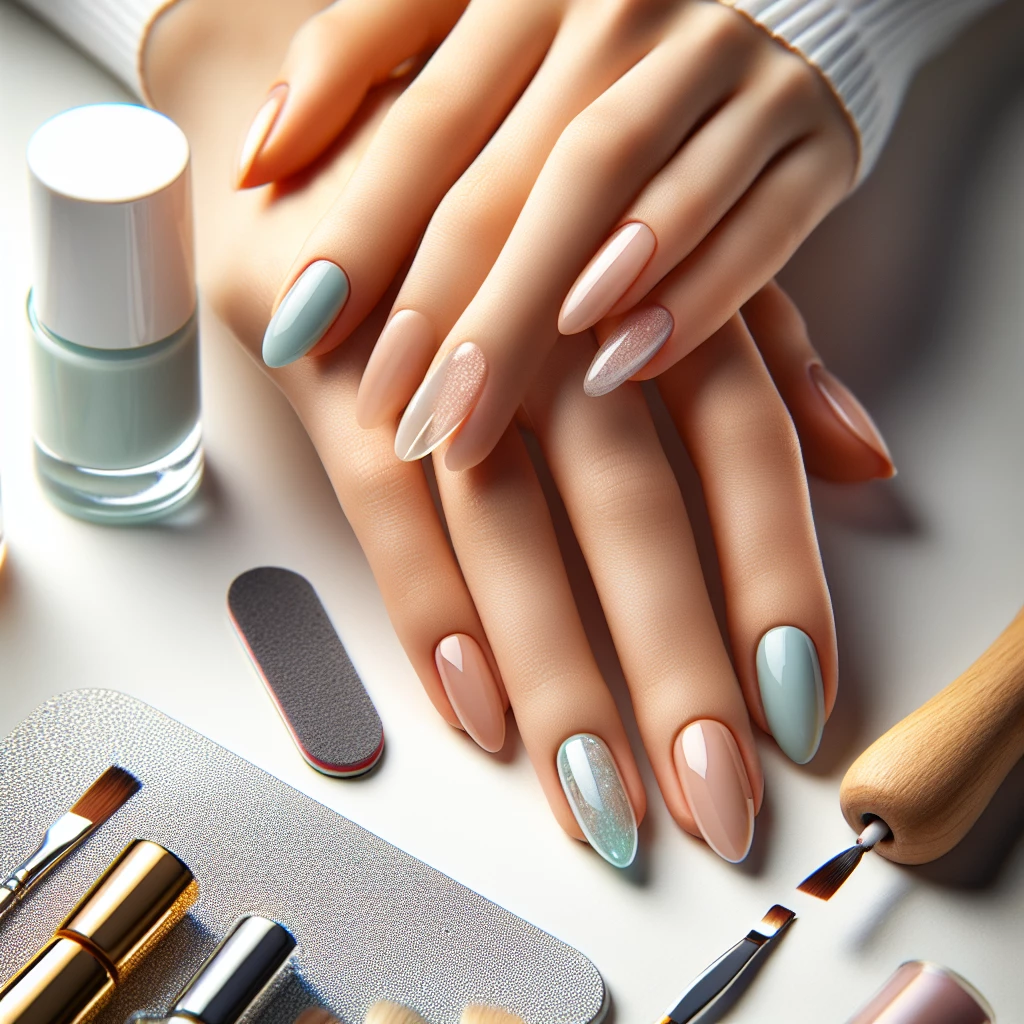
Hello gorgeous, welcome to another day of makeup essentials and today, we will be delving into the world of manicures! As we all know, the beauty of a woman isn't complete without those glammed up nails. But you don't have to break the bank all the time to get that perfect manicure. Here, on Makeup Queens, I’m going to let you in on how to make your nails on fleek with some simple DIY nail care techniques and beauty hacks.
Manicure Basics: Preparing the Nail
First and foremost, to get those nails on fleek, you need to prepare your nails properly. There's no sense in rushing into applying nail color without first ensuring that your nails are clean, smooth and ready for the manicure.
Let’s start by removing any old nail polish with a non-acetone remover, this is milder and less damaging to your nails. After that, thoroughly wash your hands and moisturize to keep your nails healthy and prevent them from breaking.
After moisturizing, buff your nails gently. This process removes the topmost dead layer, revealing the smooth, shiny surface underneath that’s ready for nail polish! Remember, beauty comes from meticulous care.
DIY Manicure: Nail Shaping and Cleaning Cuticles
Now let's move on to nail shaping. This is quite crucial since the shape of your nails can affect the overall look of your hands. From oval to squoval, almond to ballerina, choose the shape that best suits your style and finger type.
Cleaning cuticles is next. The cuticle is a barrier that protects your nail from bacteria, so be gentle. You just need a cuticle pusher to push back the cuticles after you've softened them with some olive oil or cuticle cream.
The final step in this stage is to apply a clear base coat. This will solidify your hard work by protecting your nail, preventing discoloration and providing your chosen nail polish color with an excellent adhesion surface.
From Drab to Fab: Nail Polish Application
After our meticulous preparation, it's finally time for the nail polish! Begin with a thin layer of your chosen color, starting from the cuticle and sweeping towards the tip. Keep the paint strokes as smooth and as even as possible.
A second coat of polish is likely necessary to achieve full color, but remember – it all depends on the type of polish you’re using and how opaque you want the look to be. Be patient, let the first coat dry before applying the second one.
The final touch is a clear top coat. It adds a glossy finish, prevents chipping and provides longevity. Voila, you just did your own manicure!
See, wasn’t that easy? Giving yourself a manicure at home might seem intimidating at first, but with practice and the right techniques, you will be your own manicure maestro! Remember, great nails don’t happen by chance, they happen by appointment – with yourself. DIY is not just cost-effective; it’s also a fun way to express your personal style. Keep those nails on fleek, ladies – and until next time, stay beautiful.

Transform with Translucent Powder
Learn how to use translucent powder to set your makeup and control oil for that flawless finish.

Organic Makeup: Is It Worth It?
Discover the pros and cons of organic makeup, and decide if it’s the right choice for you.

Battle of the Brands: Makeup Comparison
In-depth comparison of popular makeup brands to help you make the best choice for your skin.

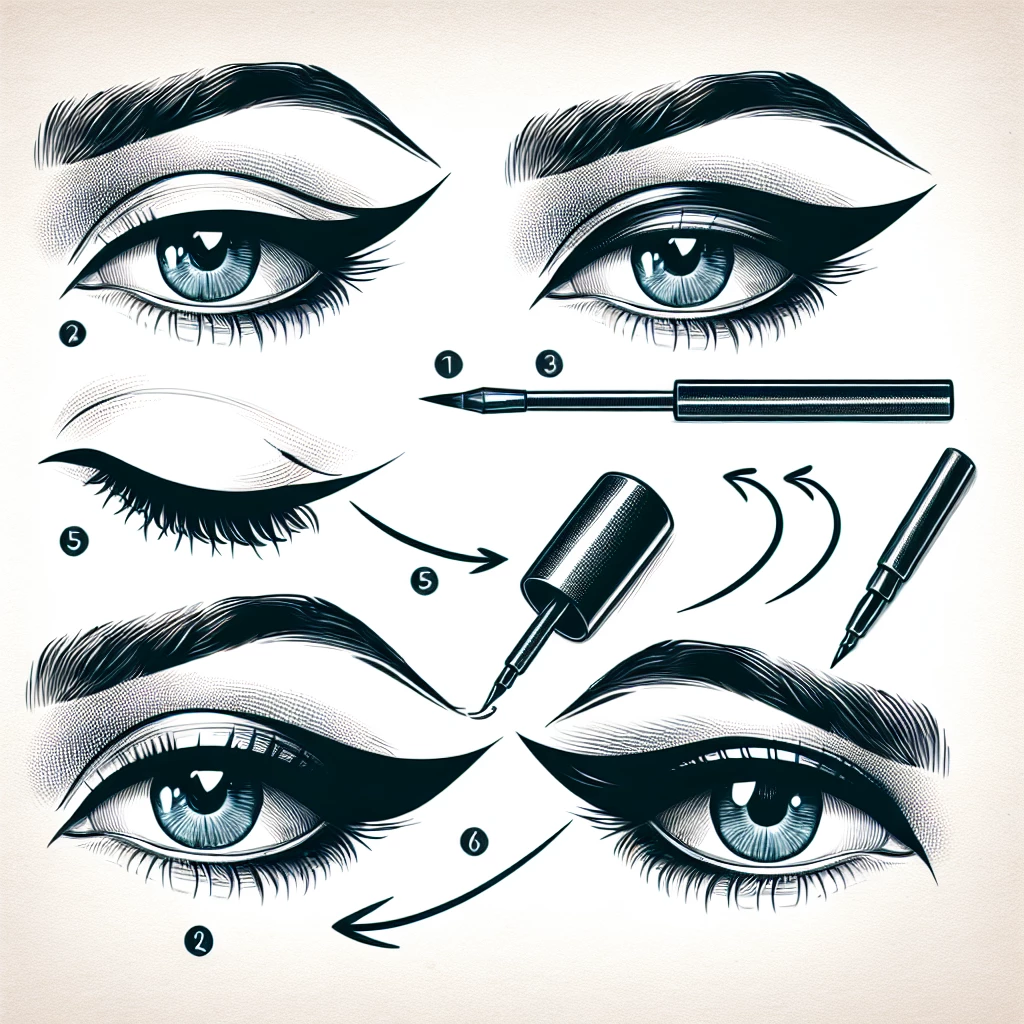
Creating a Classic Winged Eyeliner
Master the classic winged eyeliner look with our step-by-step guide.
