Hello, beauty queens! If mastering the art of the winged liner is a part of your makeup goals, you've arrived at the right place! In this eye makeup tutorial, we will guide you through the vital steps and share an easy to follow product guide to give you those picture-perfect wings you’ve always dreamed of. So, let's start our journey and make your eyes the canvas that tells your story.
The Importance Of The Right Tools
Undeniably, creating the perfect winged liner has a lot to do with the tools you use. Be it an angular brush for a thick and bold wing or an eyeliner brush for a slender and subtle line - choosing the right tool can make all the difference.
A versatile gel liner is a great place to start. Keep a steady supply of Q-tips and makeup remover handy for minor corrections. For a budge-proof wing, ensure you are armed with a primer and a setting spray.
Remember that precision is the name of the game. Therefore, investing in high-quality tools is a step that cannot be overlooked in this makeup tutorial.
Preparation is Key
Before jumping straight into applying the liner, preparing your eyelids is crucial. Start with cleaning the eye area gently and follow up with a light moisturizer.
Using a primer is advisable as it helps the liner stay in place and prevents it from smudging. After using the primer, dusting a bit of translucent powder can help set the primer.
Prepare yourself as well. Rest your elbow on a firm surface to steady your hand. Also, make sure the room is well-lit so you can clearly see your eye makeup.
Drawing The Line
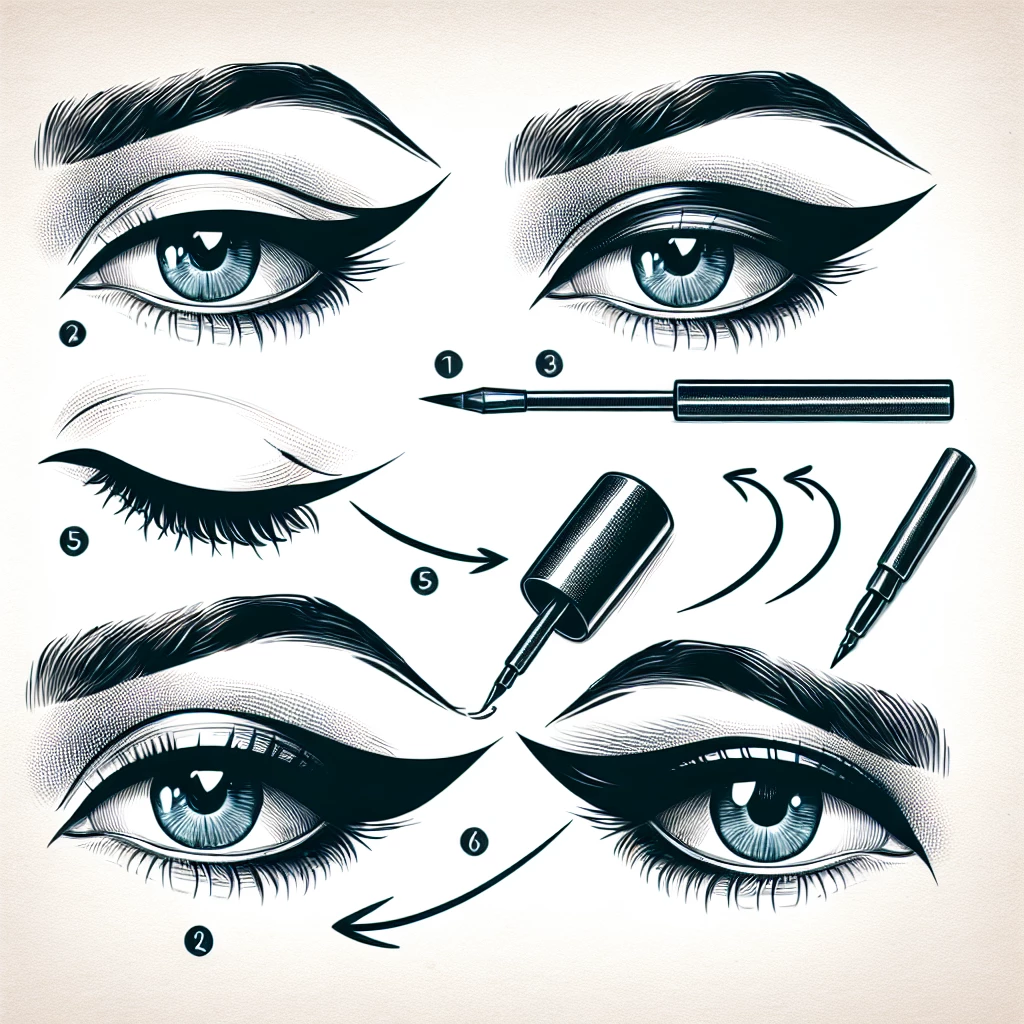
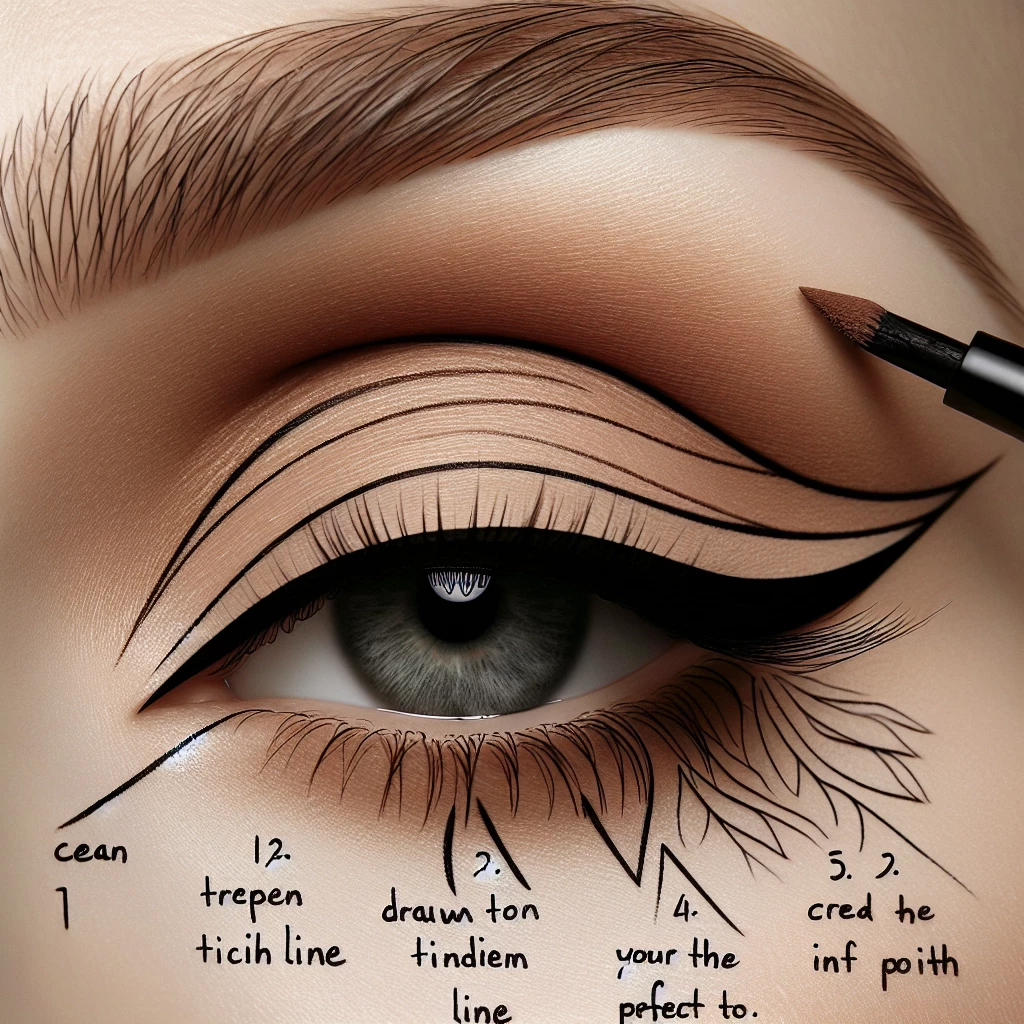
Drawing the perfect line can be tricky; however, with some tips and practice, it can become second nature. Start by dotting the liner along your lash line. These dots will serve as a guide for your line.
Join these dots and fill in the spaces to create a seamless line. For those gorgeous wings that enhance your eyes, extend the line in an upwards direction towards the end of your eyebrows.
Be patient and take your time in this stage. A good tip is to draw the line looking straight into the mirror rather than closing your eye. This gives a more accurate application and a more balanced look.
Perfecting The Wing
After successfully drawing your line, it's time to perfect your wing. Begin where you left off, draw a small line heading towards the tip of your eyebrow.
Then, make a triangle by drawing another line that meets your lash line. Fill in this triangle with your liner for a crisp and clean wing.
Lastly, remember that your wings are sisters, not twins. It's okay if they aren't perfectly identical. What is important is that they complement the shape and size of your eyes.
Finishing Touches
Once you are satisfied with your winged liner, use a bit of concealer around the wings to clean and brighten up the area. This also helps to hide any minor mistakes.
Finish your look with a setting spray to ensure your perfect wings stay put all day long.
Practice, patience and our product guide will lead you to ace the winged liner in no time. So keep experimenting and with each new line, you'll get closer to that perfect wing you are aiming for!
Thank you for joining us in this makeup tutorial and we hope we've made navigating the world of winged liner a little less daunting and lot more fun. With time, practice, and the right tools, you'll find yourself effortlessly drawing perfect wings! And remember, it’s not just makeup, it's a form of self-expression. So lift those wings and let them tell your beautiful, unique story.

Transform with Translucent Powder
Learn how to use translucent powder to set your makeup and control oil for that flawless finish.

Organic Makeup: Is It Worth It?
Discover the pros and cons of organic makeup, and decide if it’s the right choice for you.

Battle of the Brands: Makeup Comparison
In-depth comparison of popular makeup brands to help you make the best choice for your skin.

Creating a Classic Winged Eyeliner
Master the classic winged eyeliner look with our step-by-step guide.
